
 Canada - EN
 USA - EN
A Simple Guide to Perfectly Caulking Your Shower or Tub
Does your shower look something like this?
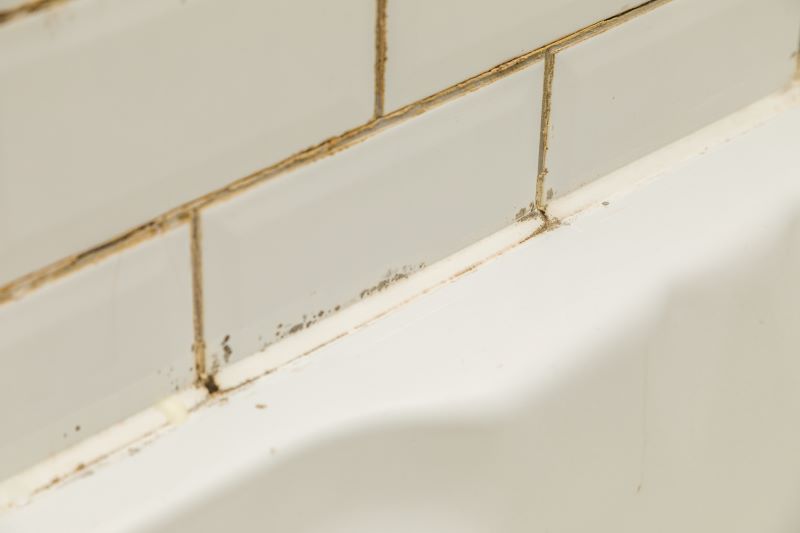
Caulking your shower or tub is one of the most important things you can do to keep your bathroom clean and safe. Over time, caulk can crack, peel, or even grow mould. That’s when water can start seeping into places it shouldn’t, causing damage to your walls and floors. But don’t worry, replacing old caulk isn’t as complicated as it seems!
In this guide, we’ll take you step-by-step through how to caulk your shower or tub. Plus, we’ll show you why KWIK SEAL ULTRA Advanced Kitchen & Bath Sealant is the perfect choice for a smooth, clean, and long-lasting finish.
Why Caulking is So Important
Caulking is more than just a finishing touch for your bathroom. It plays a crucial role in keeping your home protected and looking great. Here’s why it matters:
Stops Water Leaks
Water can easily slip through gaps around your tub or shower, damaging walls, floors, and the structure underneath. A waterproof caulk or sealant keeps water out.
Prevents Mold and Mildew
Bathrooms are damp, making them the perfect breeding ground for mould and mildew. Proper caulking blocks moisture and helps stop mould before it starts.
Keeps Your Bathroom Looking Fresh
Smooth, clean caulk lines make your bathroom look polished and new. Old, cracked caulk can make even a tidy bathroom look messy.
The KWIK SEAL ULTRA Advantage
If you’re going to do a job, you want to do it right. That’s where KWIK SEAL ULTRA comes in. This advanced kitchen and bathroom sealant takes the hassle out of caulking, delivering superior results that outshine the competition. Here’s why:
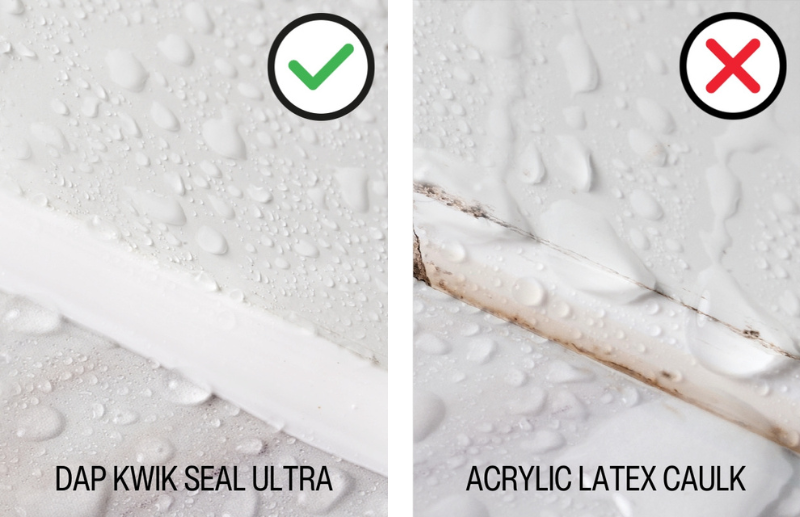
- Repels Water, Dirt, and Stains: The advanced hydrophobic (water-repellent) technology keeps your bathroom cleaner for a longer time.
- Mould and Mildew Protection: This sealant comes with a lifetime guarantee against the growth of mould and mildew.
- Easy to Apply and Clean: Unlike silicone, which can be sticky and difficult to clean, KWIK SEAL ULTRA’s latex formula only requires water for cleanup—no special cleaners needed.
- Less Prep Work: Taping is optional, allowing you to save time while still achieving professional-looking results.
Your Caulking Toolkit
- Utility knife, caulk removal tool and scrapper: to remove old caulk
- Warm water-soap solution and rags: to clean surfaces
- Painter's tape (optional): for crisp caulk lines
- Caulking gun
- Caulk-smoothing tool
- Waterproof sealant of choice:
- KWIK SEAL ULTRA
- Silicone or hybrid formulas work great too
Complete Step-by-Step Guide to Caulking Your Shower or Tub
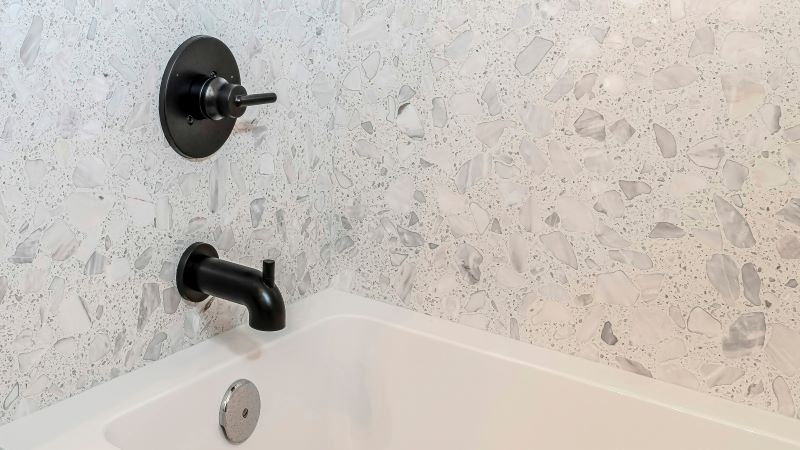
When caulking your shower or tub, focus on the areas most exposed to water. Start by caulking around the edges where the tub meets the wall, as well as the seams between the wall tiles and the tub. Don't forget to seal around the tub spout, faucet, and any other fixtures to prevent water from seeping behind them.
Remove the Old Caulk
For a comprehensive guide on removing old caulk, be sure to check out last week's blog post here! This is a crucial step because new sealant will not adhere properly if applied over old material. Take the time to ensure that every last bit of the old caulk is removed; it will be worth the effort in the long run.
Prepare the Surface
The surface must be clean and completely dry before applying new caulk. Any dirt, product buildup, or moisture will prevent the caulk from adhering properly.
- Wash the tub surround, shower, or connecting walls with warm soapy water to remove any grime, soap scum, or mildew—anywhere you plan to seal.
- Dry thoroughly with a clean towel and let air dry for a few hours.
- After the surface is completely dry, you can apply painter's tape to both sides of the area you plan to seal. While this step is optional, it can be particularly helpful for beginners, especially when working with silicone, which can be sticky and challenging to clean.
Load the Caulking Gun
- Cut the tip of the sealant cartridge at a 45-degree angle, ensuring that the size of the opening matches the width of the gap you intend to seal.
- Use the attached pin or a long nail to puncture the inner foil of the cartridge.
- Then, insert the tube into your caulking gun.
Apply a Steady Bead of Caulk
- Hold the caulking gun at a 45-degree angle and press the trigger steadily. Move the nozzle smoothly along the seam, letting the caulk come out evenly. Take your time; a slow hand will help you get better results.
- After applying the caulk, smooth it out with your finger or a smoothing tool. This helps the caulk fill the gap and uniform. Wet your finger with warm water so the caulk won’t stick. Gently slide your finger along the bead in one smooth motion.
This is where you can experience the benefits of KWIK SEAL ULTRA. Its latex-based formula allows you to smooth the bead using just water without any stickiness or harsh chemicals needed.
Let the Caulk Cure & Enjoy Your Fresh Seal
- Caulk needs time to cure (harden) before it can get wet. KWIK SEAL ULTRA dries to the touch in just 30 minutes and be exposed to water after 4 hours. For the best results, try not to use the area for 24 hours.
To see the process in action with AMP Hybrid Kitchen & Bath Sealant, head to our friend Mary's blog—Diamond in the Rough.

Common Caulking Mistakes to Avoid
- Neglecting Surface Preparation: Failing to clean the area can prevent the caulk from adhering properly. Make sure to remove any dirt and moisture before application.
- Applying Too Much Caulk: Using a thick bead of caulk can lead to longer drying times and a messy appearance.
- Not Smoothing the Caulk: If you don’t smooth the caulk, it may result in gaps or rough edges that can trap dirt.
- Selecting the Wrong Product: Always choose a waterproof, mould-resistant caulk, such as KWIK SEAL ULTRA, for use in showers and tubs. Silicone sealants are also a great alternative. For more details, refer to our comparison of Latex vs. Silicone sealants.
FAQs for Bathroom Caulking
Should I caulk around the tub spout?
Yes, absolutely! Caulking around the tub spout is important to prevent water from seeping behind the spout and into the wall.
Do you caulk between the tub and the wall?
Yes, it’s essential to caulk the seam between the tub and the wall. This gap is prone to water exposure, which can lead to leaks, mould growth, and structural damage if left unsealed.
How often should I recaulk my shower?
In general, it’s recommended to recaulk your shower every 5-10 years, depending on wear and tear. This can vary depending on what product was last used. You should check for signs of deterioration, like cracks, peeling, or mould growth, and recaulk sooner if you notice any of these issues. Regular maintenance ensures a proper seal and prevents leaks or water damage.
Can I use a sealant like KWIK SEAL ULTRA on grout lines?
No, KWIK SEAL ULTRA is designed specifically for sealing areas like tubs, showers, and sinks, but it is not recommended for use on grout lines. For grout, it's best to use a grout-specific sealant to maintain a proper, long-lasting seal.
Can I apply sealant to a wet surface?
No, for the best results, the surface should be dry before applying KWIK SEAL ULTRA. Applying it to a wet or damp surface can prevent proper adhesion and affect the effectiveness of the sealant.
Can I paint over KWIK SEAL ULTRA after it dries?
No, KWIK SEAL ULTRA is not intended to be painted over. It provides a clean, sleek finish and is designed to stay as is for long-lasting performance. If you need to paint the area, make sure to apply the paint before caulking.
Caulking your shower or tub doesn’t have to be a hassle. With DAP KWIK SEAL ULTRA, you have an easy-to-use product that keeps your bathroom looking fresh while protecting it from water, mould, and stains.
You can achieve a perfectly caulked bathroom in no time by following these steps! For more DIY tips, be sure to check back next week.