How to Remove Old Caulk: A Step-by-Step Guide
Caulk is a small but mighty element that keeps your home functioning smoothly. It is used to seal gaps and joints, playing a critical role in protecting your house from water damage, drafts, and even mould growth. You’ll commonly find caulk around bathtubs, showers, sinks, and windows—essentially anywhere moisture or air needs to be kept out.
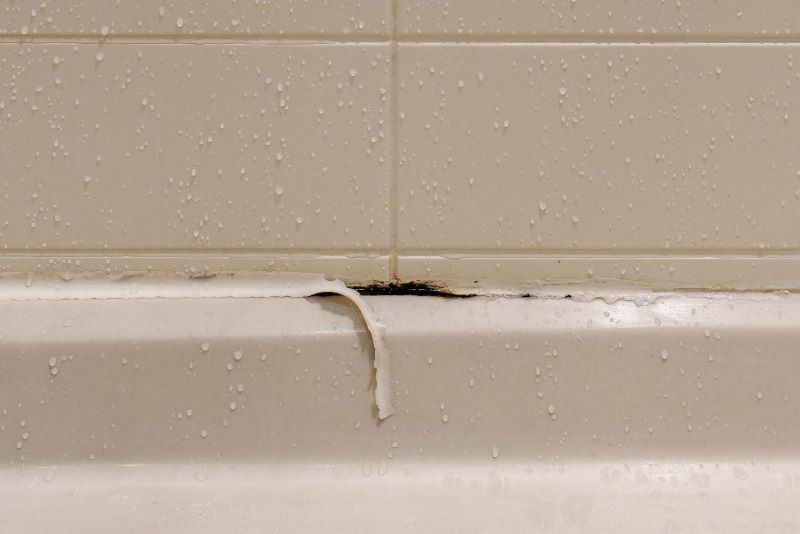
However, over time, caulk can crack, discolour, or develop mould, making your surfaces vulnerable and unattractive. If you’re looking at old, peeling caulk and wondering how to replace it, you’ve come to the right place. This guide will walk you through the entire process of removing old caulk step by step.

By the end of this post, you’ll know how to safely remove old caulk without damaging your surfaces, clean away any residue, and prepare the area for fresh caulk. Ready? Let’s get started!
The Crucial Role of Caulking in Your Home
Caulk may not be the first thing that comes to mind when considering home maintenance, but it's incredibly important for several reasons:
- Sealing & Protection: Properly applied caulk or sealant prevents water leaks, drafts, and mould growth, especially in areas like your bathtub or shower that are routinely exposed to water.
- Energy Efficiency: Caulking seals gaps around windows and doors, which helps reduce heating and cooling costs while enhancing overall energy efficiency. Remember, achieving energy efficiency doesn’t have to be complicated; it’s all about finding simple, effective solutions that work in harmony with your home.
- Aesthetic Appeal: Neatly applied and smoothed caulking beads create a polished look on surfaces, whether around a bathtub or along a countertop edge. After all, beauty lies in the details.
Is It Time for New Caulking? Here’s How to Tell
Sealants and caulk don't last forever, so it’s important to recognize when to replace it. Here are some signs that it’s time to tackle a caulk removal project:
- Cracks, Gaps, or Peeling: These are signs that the caulk is no longer providing an effective seal.
- Discoloration or Yellowing: Over time, caulk can become stained, making it look dirty even when it’s clean.
- Mould or Mildew Growth: In damp areas like showers or bathtubs, old caulk can become a breeding ground for mould.
- Water Leaks: If you notice water pooling where it shouldn’t, failing caulk could be to blame.
Inspect your caulking every 5-10 years, depending on its location and the conditions it’s exposed to. Timely replacement can save you from costly repairs down the road.
Your Essential Caulk Removal Toolkit
Before you dive into removing old caulk, gather the right tools and supplies. Having everything ready will make the process smoother and more efficient.
Tools for Caulk Removal
- Utility Knife or Caulk Removal Tool: For cutting and scraping away caulk
- Putty Knife or Scraper: To lift and remove stubborn sections
- Needle-Nose Pliers: Optional but helpful for pulling out larger chunks of caulk
- Razor Scraper: Ideal for removing thin residue
Cleaning and Preparation Supplies
- Isopropyl Alcohol or Specialized Caulk Remover: For dissolving and cleaning away caulk residue
- Warm water and detergent solution: To remove mould and mildew.
- Gloves and safety glasses: To protect your hands and eyes during the process.
- Clean rags or paper towels: For wiping down surfaces.
Optional Tools
- Hair dryer or heat gun: To soften old caulk for easier removal.
- Painter’s tape: To protect adjacent surfaces during the removal process.

Step-by-Step Instructions for Perfect Caulk Removal
Preparation
- Clean the Area: Use warm water and mild detergent to remove soap scum, mildew, or debris from the surface. Ensure the area is completely dry before moving on to the next step.
- Protect Surrounding Surfaces: Apply painter’s tape around the edges of the area to protect adjacent surfaces from scratches or damage during the process.
Loosen the Caulk
Removing old caulk doesn’t have to be a hassle if you use the right techniques:
- Score the Edges: Gently run a utility knife or razor blade along both sides of the caulk line to break the seal. Be careful to avoid scratching or damaging the surface underneath.
- Grab the Right Tool: Use the caulk removal tool included in the PRO CAULK tool kit for precision and efficiency.
- Soften the Caulk: Apply a chemical caulk remover to weaken stubborn caulk. Alternatively, use a hair dryer or heat gun to warm the caulk, making it more pliable and easier to remove.
Remove the Caulk
Now that the caulk is loosened, it’s time to remove it:
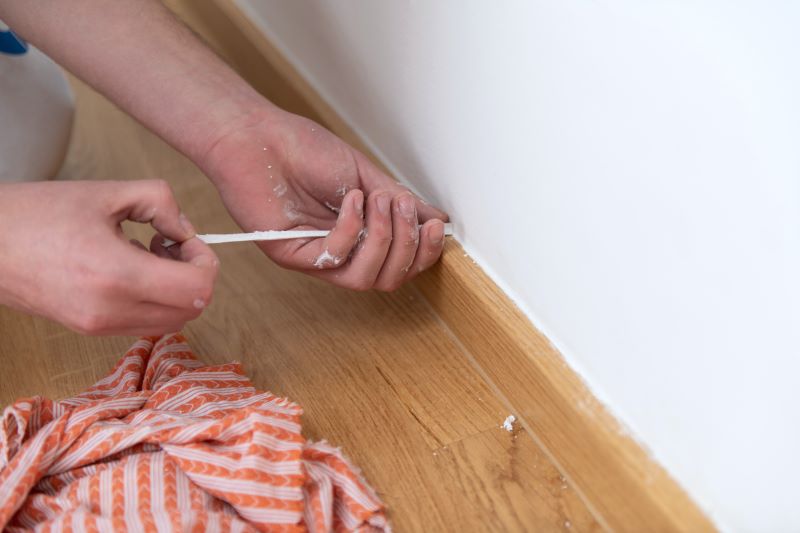
- Lift and Scrape: Use a caulk removal tool or a putty knife to carefully lift and scrape away the old caulk. Work in small sections for better precision and control.
- Tackle Stubborn Pieces: For any bits that refuse to budge, use needle-nose pliers to pull them out gently without damaging the surface.
Clean the Surface
After removing the bulk of the caulk, it’s essential to clean the area thoroughly and address any potential mould:
- Remove Residue: Use isopropyl alcohol or a non-ammoniated cleaner to dissolve and scrub away leftover caulk residue.
- Check for Mould and Clean Safely: Inspect the area for signs of mould, such as discoloration or a musty odour. If you spot mould:
- Clean the affected surface using warm water and dish detergent. Bleach is not recommended, as it can create harmful fumes and doesn’t effectively clean porous surfaces like grout.
- Refer to Health Canada’s Mould Safety Guidelines for more detailed recommendations on safe mould cleanup.
- If the mould covers a large area or persists after cleaning, it’s best to contact a professional to ensure thorough and safe removal.
- Dry Thoroughly: Make sure the surface is completely dry before applying new caulk. Any remaining moisture can prevent proper adhesion and compromise the seal.
Expert Tips for Flawless Caulk Removal
Work in Sections
Removing caulk is much easier when you divide the area into smaller sections. This approach provides better control and helps reduce the risk of accidental surface damage.
Test Products First
Before applying a chemical caulk remover or cleaner, test it on a small, hidden area to ensure it won’t damage or discolour the surface.
Use the Right Tools
Equip yourself with the proper tools for the job. A caulk removal tool, like the one in the PRO CAULK Tool Kit, or a razor scraper, is ideal for achieving clean and precise results. Avoid using dull or makeshift tools that could scratch, gouge, or damage the surface.
Your Caulk Removal Questions, Solved
What is the easiest way to remove caulking?
Combining a caulk removal tool, a putty knife, and a chemical caulk remover is often the easiest method. Heat tools like a hair dryer can also help soften stubborn caulk.
Does vinegar dissolve caulking?
Vinegar can help soften caulk, especially silicone caulk. However, it’s less effective than specialized caulk removers or isopropyl alcohol for breaking down residue.
Does rubbing alcohol dissolve caulk?
Yes, isopropyl alcohol works well for dissolving caulk residue, particularly on smooth surfaces.
Is it better to remove caulk wet or dry?
Always remove caulk when it’s dry. Wet caulk becomes slippery and more challenging to scrape or pull out.
Does WD-40 remove caulk?
While not specifically designed for caulk removal, WD-40 can help soften old caulk, making it easier to scrape away. Test it on a small, hidden area first to avoid surface damage.
How to remove caulking from hands?
If caulk gets on your hands, clean it off immediately with warm, soapy water or a small amount of isopropyl alcohol. Avoid using harsh solvents that could irritate your skin.
Can you caulk over old caulk?
While tempting, it’s not ideal to apply new caulk over old caulk. The new caulk won’t adhere properly, leading to gaps and reduced effectiveness. Always remove old caulk for the best results!

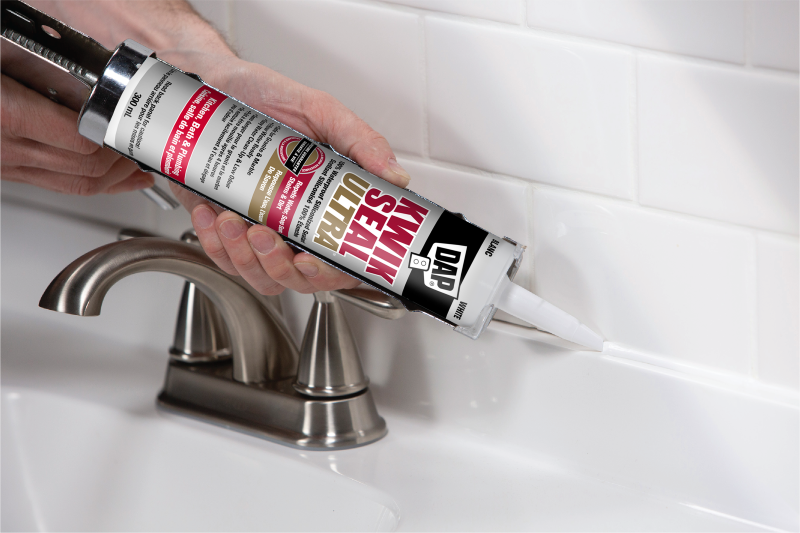
Now that you’ve successfully removed old caulk, you’re ready for the next step: applying new caulk! Check back next week for our guide on how to caulk your tub & shower like a pro, ensuring smooth lines and a long-lasting seal in water-exposed areas.
Removing caulk may take a little effort, but the result- a clean, protected, and polished surface- is well worth it. So, roll up your sleeves and give your home the refresh it deserves!
