Canada - EN
 USA - EN
How to Repair Large Holes in Drywall: Step-by-Step Guide
A hole in your wall doesn’t have to be a permanent eyesore. Whether you’re a homeowner, renter, or DIY enthusiast, learning how to patch drywall holes can save you time, money, and frustration. Using high-quality products like ALEX PLUS Spackling or FAST DRY Spackling ensures a smoother, professional-looking finish. Here’s a detailed guide to the three most effective methods for large drywall repairs, complete with video tutorials from our friends at Refresh Home Improvements, so you can restore your walls to perfection.
What Qualifies as a Large Hole?
Not all wall damage requires the same solution. The size and depth of the hole determine the best repair method.
- Small Dings (Under 1 Inch): Can be patched with spackling alone.
- Medium Holes (1–4 Inches): Typically require a self-adhesive mesh patch supported by spackling.
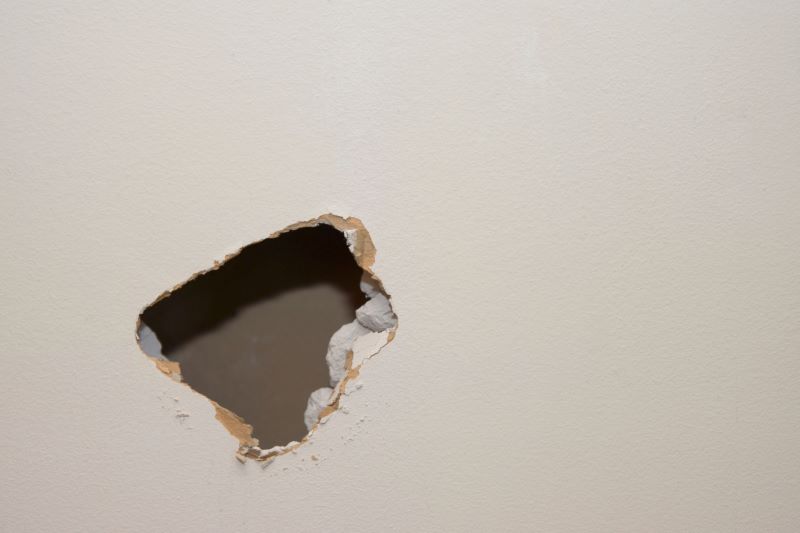
- Large Holes (4+ Inches): Need a structured repair, often with drywall patches or backing support.
Properly repairing a large hole prevents additional damage and ensures a clean, seamless result.
Using a Drywall Repair Mesh Patch
Materials Needed
- Drywall repair mesh patch
- FAST DRY Spackling
- Premium Lightweight Joint Compound
- 6-inch and 12-inch putty knives
- Sandpaper or sanding block (medium and fine grit)
Steps
- Prepare the Area: Clean around the edges of the hole using a utility knife, removing loose debris for smooth adhesion.
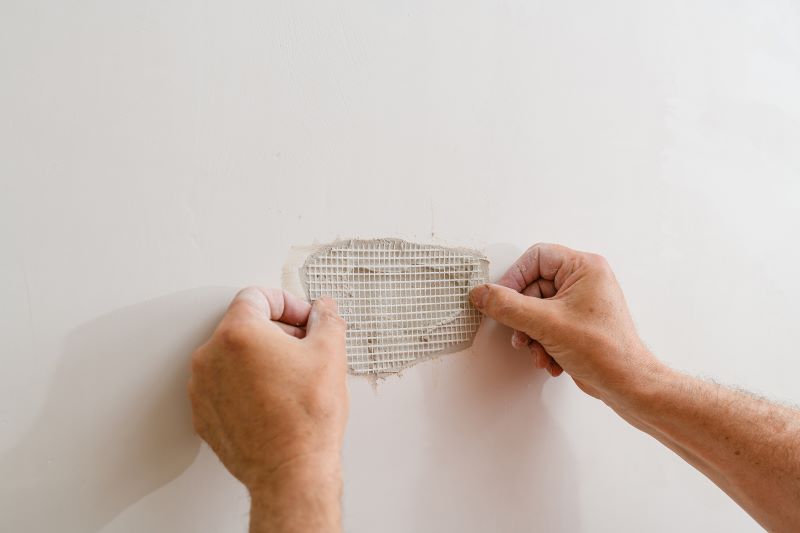
- Apply the Patch: Adhere the self-adhesive drywall mesh patch over the hole, ensuring it overlaps the wall by at least an inch on all sides.
- Cover with Spackling: Spread FAST DRY spackling over the patch using a putty knife. Push it into the mesh with a crisscross motion, feathering the edges. Allow it to dry for about 30 minutes (or as recommended).
- Smooth and Reapply: Scrape off excess spackling once dry. Apply joint compound wider than the first layer, blending it into the wall. Allow it to fully dry.
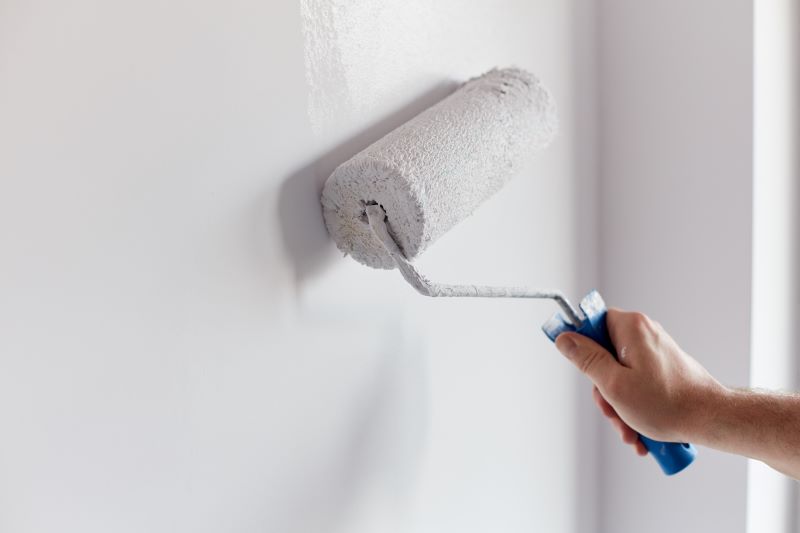
- Sand and Finish: Sand the patched area, starting with medium-grit sandpaper and finishing with fine-grit. Wipe away dust and, if needed, prime the area before painting. Feather the paint to blend seamlessly.
See Refresh Home Improvement in action with their favourite DAP Product: FAST DRY Spackling
Using Drywall Repair Clips
Materials Needed
- Scrap drywall
- Drywall repair clips
- Drywall tape (paper or mesh)
- DRYDex Spackling
- 6-inch putty knife
- Utility knife or jab saw
- Sandpaper or sanding block (fine grit)
Steps
- Prepare the Hole: Cut a clean square or rectangle around the hole using a utility knife or jab saw. Smooth the edges.
- Cut the Patch: Cut a drywall piece slightly larger than the hole for a snug fit.
- Attach Clips: Secure drywall clips to the edges of the hole with the tabs projecting outward. These clips act as temporary supports for the drywall patch.
- Install the Patch: Place the drywall patch into the hole, pressing firmly against the clips. Secure the patch with screws and snap off any protruding clip tabs.
- Tape Seams and Apply Compound: Begin by covering the seams with DRYDex spackling or joint compound, then press drywall tape over them. Apply another layer of spackling on top, ensuring even coverage. For a seamless finish, consider adding a thin, wider coat to blend and feather the edges after the first layer is dry.
- Sand and Finish: Once dry, sand the area smooth. Reapply compound if needed, allow to dry, and sand again. Prime and paint to complete the repair.
Using a California Patch (Butterfly Patch)
Materials Needed
- Scrap drywall
- ALEX PLUS Spackling
- DRYDex Spackling
- Utility knife
- Putty knife
- Sandpaper or sanding block (fine grit)
- Paint and primer
Steps
- Cut Your Patch: Cut a piece of drywall slightly larger than the hole. Score the back of the drywall (but don’t cut all the way through) and remove the inner drywall, leaving a 1-inch paper border around the edges.
- Prepare the Area: Clean the hole by removing debris and smoothing edges with a utility knife.
- Insert the Patch: Apply ALEX PLUS Spackling or joint compound to the edges of the hole on the wall and to the back of the patch you made. Insert the patch into the hole, pressing the paper edges against the wall surface.
- Smooth with Spackling: Start by applying a layer of spackling over the patch, gradually feathering it outward to seamlessly blend with the wall. Let it dry completely. For a flawless finish, add thin, even layers of DRYDex Spackling to a broader area, carefully feathering the edges to ensure a smooth transition.
- Sand and Paint: Sand the area smoothly, wipe off dust, and paint over the repair for a seamless finish.
FAQs
Can I repair large drywall holes myself?
Absolutely! With the right materials and techniques, fixing drywall can be a manageable DIY project.
Which repair method is best for durability?
Using drywall repair clips or securing backing support is ideal for larger holes needing a sturdy, long-lasting fix.
Do I need to prime before painting?
Not always! Check the packaging, ALEX PLUS and others do not require priming.
With this guide, you’ll be able to tackle repairs like a pro and restore your wall’s perfection with ease!