Quick Fixes for Drywall Damage & Nail Holes
Small cracks, nail holes, and dents in your walls might seem like minor issues, but they can significantly detract from the overall look and feel of your home. The good news? Restoring your walls doesn’t have to involve professional intervention or complicated tools. With the right products and techniques, you can take care of these common problems quickly and efficiently.
Welcome to your comprehensive guide to tackling small wall repairs. Here, we’ll show you how easy it is to resolve these imperfections using trusted solutions like FAST 'N FINAL Spackling and innovative products like ECLIPSE Rapid Wall Repair Patches. Whether you’re dealing with everyday wear and tear or preparing your space for a fresh coat of paint, this guide will help you restore your walls with confidence and ease.

Why Fixing Small Wall Damage Matters
We’ve all been there—relaxing at home, only to notice a crack or hole on the wall that you can’t unsee. These minor flaws may seem insignificant, but they can have a surprisingly big impact on your living space.
The Risks of Ignoring Wall Damage
Small wall damage doesn’t stay small for long when left unattended. Hairline cracks can widen as your home settles or reacts to temperature changes, while nail holes and dents can accumulate dirt and become even more noticeable. What begins as a minor blemish can quickly snowball into a larger, more costly problem.
Worse still, these gaps can allow moisture to seep in, leading to issues like mold growth or structural damage to your drywall. Addressing these problems early not only enhances your home’s appearance but also safeguards its long-term condition.
The Power of Flawless Walls
Your walls set the stage for your home’s aesthetic. Smooth, flawless walls create a sense of cleanliness and care, instantly elevating any room. On the flip side, walls marked by damage can make even the most beautifully decorated spaces feel neglected.
Whether you’re hosting guests, preparing to sell your home, or simply want a more polished living environment, repairing small wall damage is a quick and affordable way to make a big difference. With just a little effort, you can restore your walls and enjoy a home that feels fresh, inviting, and well-maintained.
Understanding The Common Culprits Behind Wall Damage
Before diving into repairs, it helps to understand what causes these common wall imperfections in the first place.
Nail & Screw Holes
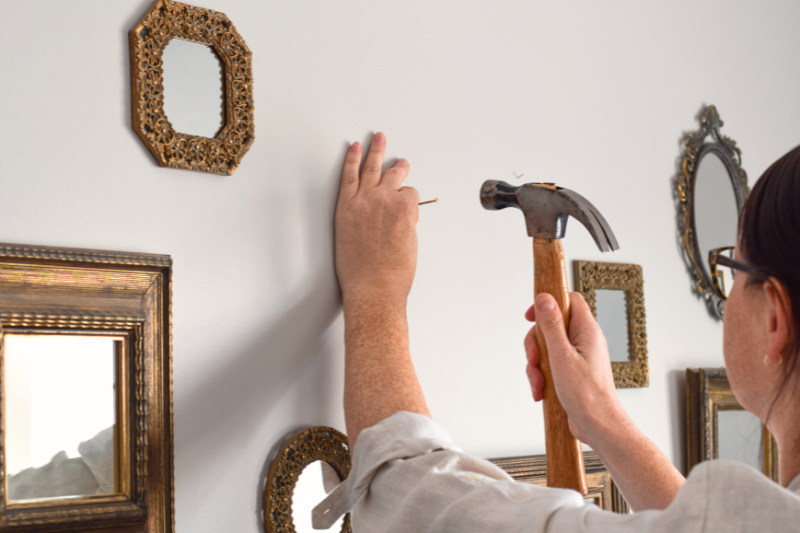
The most frequent type of wall damage comes from hanging and rearranging decor. Every time you hang a picture, mount a shelf, or install a curtain rod, you’re creating holes in your wall. When you decide to redecorate or rearrange, these holes remain as evidence of your design evolution.
Even small nail holes can be surprisingly eye-catching, especially in well-lit areas or on walls painted in darker colors. Luckily, these are also some of the easiest damages to repair.
Dents & Dings
Life happens, and sometimes that means furniture gets moved, doors swing open too enthusiastically, or children's toys go flying into the wall. These impacts create dents and dings of various sizes.
Unlike holes that penetrate the drywall completely, dents typically compress the drywall surface without breaking through it. This distinction affects how you'll approach the repair, though both are well within the capabilities of a DIY enthusiast.
Hairline Cracks
Houses aren't static structures—they settle over time, respond to temperature changes, and age just like everything else. This natural process often manifests as fine cracks in your walls, particularly around windows, doors, and corners where structural stress concentrates.
While major structural cracks warrant professional attention, those fine hairline cracks are perfect candidates for simple DIY repairs that can refresh your walls and prevent further deterioration.
Your Wall Repair Toolkit
One of the joys of small wall repairs is that they don't require an extensive array of specialized tools. With just a few key items, you’ll be fully equipped to tackle the most common wall damage.
At the center of your repair arsenal should be a quality spackling compound, and FAST 'N FINAL stands out from the crowd for several reasons:
- Ultra-Lightweight Formula: Unlike traditional spackle, FAST 'N FINAL won't shrink or crack as it dries, eliminating the need for multiple applications.
- Quick-Drying Technology: You can sand and paint in as little as 15 minutes, compared to the hours or even overnight waiting period required by conventional options.
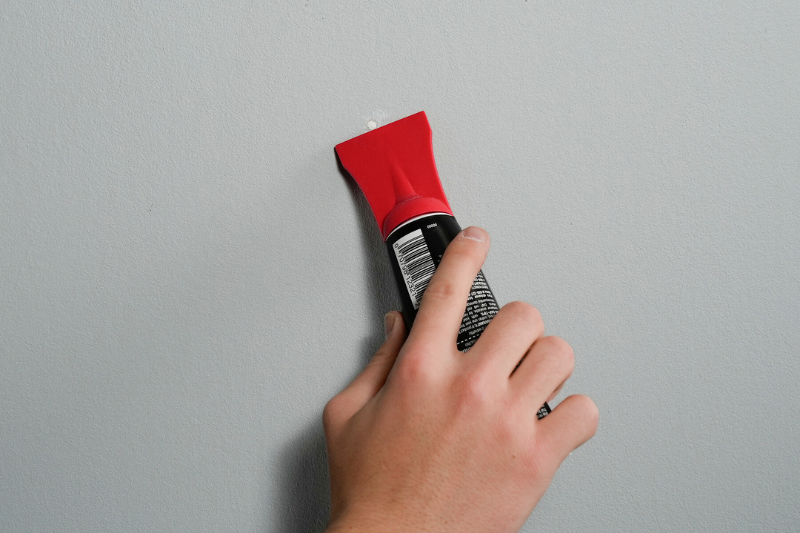
- Handy Knife Cap: This thoughtful design feature means the product comes with its own built-in applicator, reducing mess and eliminating the need for additional tools.
- Smooth, Paintable Finish: Once dry, it creates a surface that takes paint beautifully, helping your repairs blend seamlessly with the surrounding wall.
FAST ‘N FINAL Lightweight Spackling eliminates the need for extra tools like sandpaper and primer for nail hole repairs. If need be, you can use fine-grit sandpaper (around 220-grit) to seamlessly blend the repair with the surrounding wall. Once smooth, simply grab some paint and a brush to complete the job with ease.

ECLIPSE Rapid Wall Repair Patch
For holes up to 3 inches in diameter, we offer another innovative solution—the Eclipse Patch. This self-adhesive patch skips the spackling step entirely with a peel-and-stick application that’s ready for immediate painting. We'll explore this option in more detail later.
Step-By-Step Guide to Flawless Wall Repairs
Conquering Nail Holes: The 30-Minute Fix
Nail holes are the most common wall injury and, fortunately, the simplest to address:
- Prepare the Surface: Clean the area around the nail hole. Make sure it’s dry and free of dust, debris and nails.
- Apply the Spackling: Squeeze the spackling directly into the nail hole using the built-in putty knife. Press firmly to fill the hole completely.
- Smooth the Surface: After filling, use the putty knife to remove excess material. For a smoother finish, dip the knife in water and lightly run it over the area.
- Allow to Dry: For small holes, one application should do the trick. Let it dry for about 20 minutes. If sanding or using oil-based paint, let it dry for 24 hours.
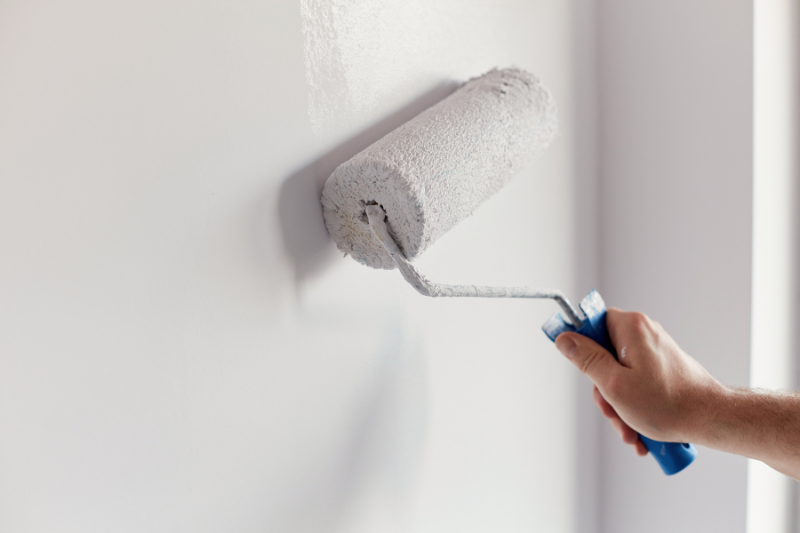
- Paint for a Perfect Finish: You're ready to start painting! Make sure to use the same finish as the rest of the wall for a seamless look. For the best results, be sure to follow the manufacturer’s instructions carefully.

Addressing Dents & Dings: The Feathering Technique
Dents require a slightly different approach to create a seamless repair:
- Clean the Damaged Area: Start by removing any loose material from the damaged surface. Wipe the area clean and ensure it’s completely dry before you begin.
- Apply Spackling in Layers: For dents deeper than 3 mm (1/8 inch), work in thin layers rather than trying to fill the full depth all at once. Press a small amount into the center of the dent with a putty knife. Begin spreading it outward, using firm pressure to push the spackling into the dent and remove any excess material from the surface. Allow each layer to dry for around 30 minutes before applying the next to avoid trapping air and ensure a solid fill.
- Feather the Edges: To create an invisible repair, use the feathering technique. While smoothing the spackling, extend beyond the edges of the dent and gradually reduce the thickness as you move outward. The aim is to create a subtle transition between the repaired spot and the undamaged wall. For a smooth finish, dip your putty knife in water and lightly run it over the area.
- Dry Completely: For thicker applications, FAST ‘N FINAL may take additional time to dry completely. If the patched area doesn’t blend seamlessly with the surrounding wall, wait 24 hours before sanding the surface to ensure a smooth finish prior to painting.
- Sand with Precision: Focus on the edges where the spackling meets the wall. Use gentle, circular motions with fine-grit sandpaper, checking your progress frequently by running your fingers over the area. Be careful not to oversand, as this can damage the surrounding wall.
- Time to Paint: Use the same finish as the rest of the wall to ensure a smooth, uniform appearance. For optimal results, follow the manufacturer's guidelines closely.
Spackling-Free Solution: ECLIPSE Rapid Wall Repair Patch
Some wall damage falls between "small repair" and "major renovation." For holes up to 2 inches in diameter (perhaps from a doorknob impact or removed wall anchor), ECLIPSE Patches offer a revolutionary solution.
ECLIPSE Patches transform what would typically be a multi-step repair into three simple steps:
- Prep: Push any rough or damaged edges inward, then sand the area with fine-grit sandpaper until smooth. Clean it with a dry or damp cloth to remove dust, and if damp, allow it to dry completely.
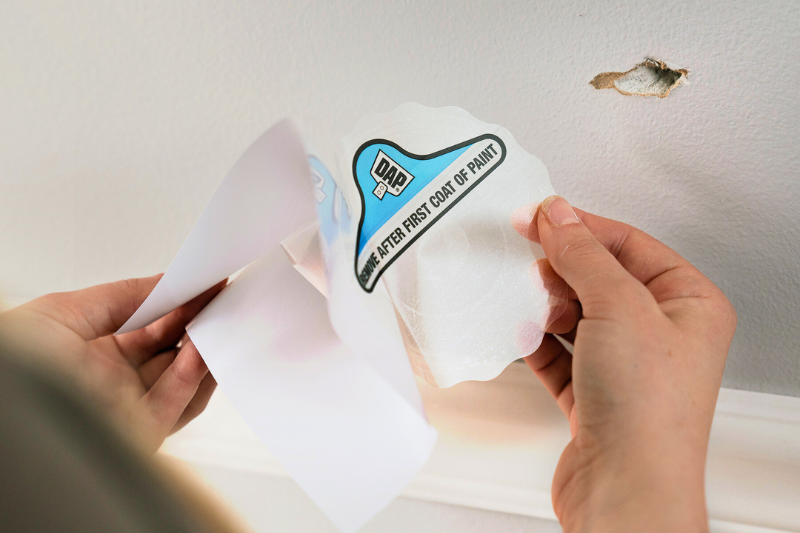
- Peel: Peel the patch from its backing, like removing a sticker.
- Place: Hold the patch by the edges and center the grey circle over the damage. Smooth it onto the drywall, ensuring there are no air bubbles and the edges are secured, but avoid pressing directly on the damaged area.
- Paint: Paint over the patch immediately using a roller and interior latex paint, applying light pressure with plenty of paint. No spackling or sanding needed!
- Remove: After the first coat dries, gently peel off the clear protective layer using the tab.
- Finish: Apply two thick coats of interior latex paint with a roller. For textured walls or ceilings, use aerosol spray texture or a textured paint roller to blend the patch.

These innovative patches offer several advantages for certain repair scenarios:
- Unmatched Speed: When time is of the essence, nothing beats the immediate application of an ECLIPSE Patch.
- Built-In Reinforcement: The patches include a strong mesh core that provides structural support to the damaged area.
- Simplified Process: By eliminating several steps, these patches reduce the chance of user error in the repair process.
- Ideal for Awkward Spots: For damage in corners or tight spaces where traditional spackling might be difficult to apply and sand, patches offer a practical alternative.
While not a replacement for all spackling applications, ECLIPSE Patches deserve a place in your home repair toolkit for situations where their unique benefits align with your repair needs.

Small wall damage can sneak up on you, but it doesn’t have to stay that way. Addressing those cracks, dents, and nail holes is about more than just aesthetics; it’s about protecting your home and preserving its value. With easy-to-use solutions like FAST 'N FINAL Spackling and the innovative Eclipse Patches, tackling these imperfections is simpler than you might think.
Why put it off? With just a bit of effort, you can transform your walls and give any room a fresh, polished look. Whether you’re covering up nail holes, smoothing out dents, or dealing with small cracks, you now have the tools and know-how to handle repairs confidently. Start today, and enjoy the satisfaction of a home that looks and feels flawless!

 Canada - EN
 USA - EN