




How to Prep Walls for Painting
Follow our plan on how to prepare interior walls for painting, and you’ll be rolling on that final coat in no time.


-
Smoothing Plaster Walls for Painting Step-By-Step
Smoothing Plaster Walls for Painting Step-By-Step
Tools
- Sponge
- Bucket
- Flashlight or worklight
- Painter’s tape or pencil
- Pry bar
- Putty knife
- Drywall sponge
- Latex paint brush
Materials
- Krud Kutter Cleaner & Degreaser (32 oz.)
- Warm water
- DAP® FAST DRY® Premium Spackling
- DAP® ALEX PLUS® Spackling
- Fiber mesh tape
- Zinsser® Bulls Eye 1-2-3® Primer
- Metal drywall patch
- Fine-grit sandpaper
- 100-grit sanding sponge
You wouldn’t put up a house without first building a solid foundation. Similarly, you shouldn’t paint walls until you’ve properly prepped them. The good news: It’s easy and quick. Walls just need to be clean and free of flaws. Here’s how to get the best results.
STEP 1: Wash Off Grime
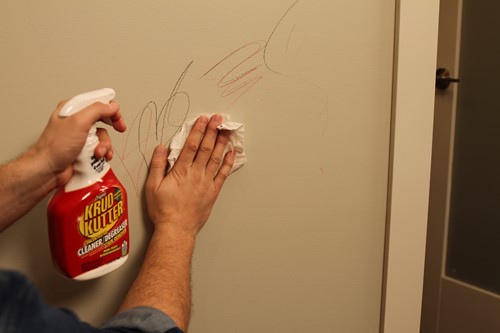
For a flawless paint job, make sure to clean your walls prior to painting to remove any dust, dirt and grease. Using a grease-cutting detergent like Krud Kutter Cleaner & Degreaser and pay special attention to:
- Glossy surfaces, like trim
- Kitchen walls, where grease accumulates
- Bathroom walls, where hair and other sprays are used
- Walls that pets brush against (their fur can leave oily residue)
- Walls with fingerprints or other grime
- Walls in rooms where people have smoked
STEP 2: Find Flaws
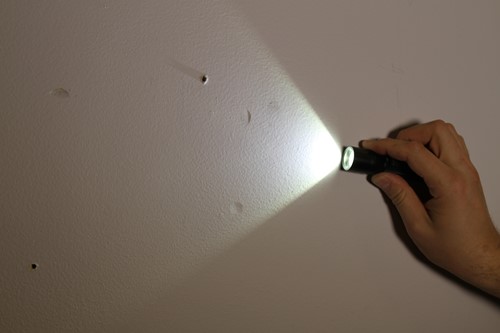
To check for areas that need repairing, hold a light to the wall and let the light rake over it. You’ll see any dings, holes or imperfections. Mark those areas with a piece of tape or circle them with a pencil.
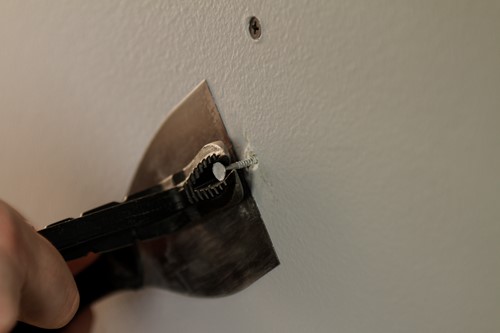
STEP 3: Pull Popped Nails
The nails that secure drywall to studs sometimes pop out due to expansion and contraction of the studs. To fix them, you can’t just resink them, because the nail will eventually pop back out.
To permanently fix a popped nail, drive a 1 1/4-inch drywall screw about 2 inches above or below the popped nail. Then pull out the nail with a pry bar while holding a wide putty knife under it to protect the wall. Tap the empty nail hole with the handle of a putty knife to knock any protruding drywall fragments into the wall.
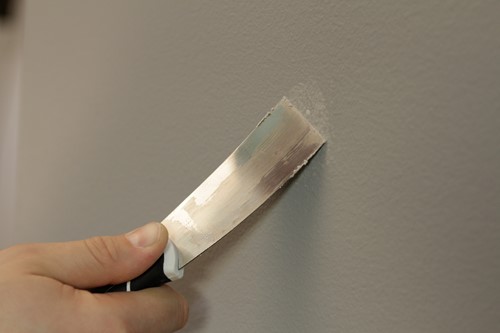
Step 4: Patch Holes
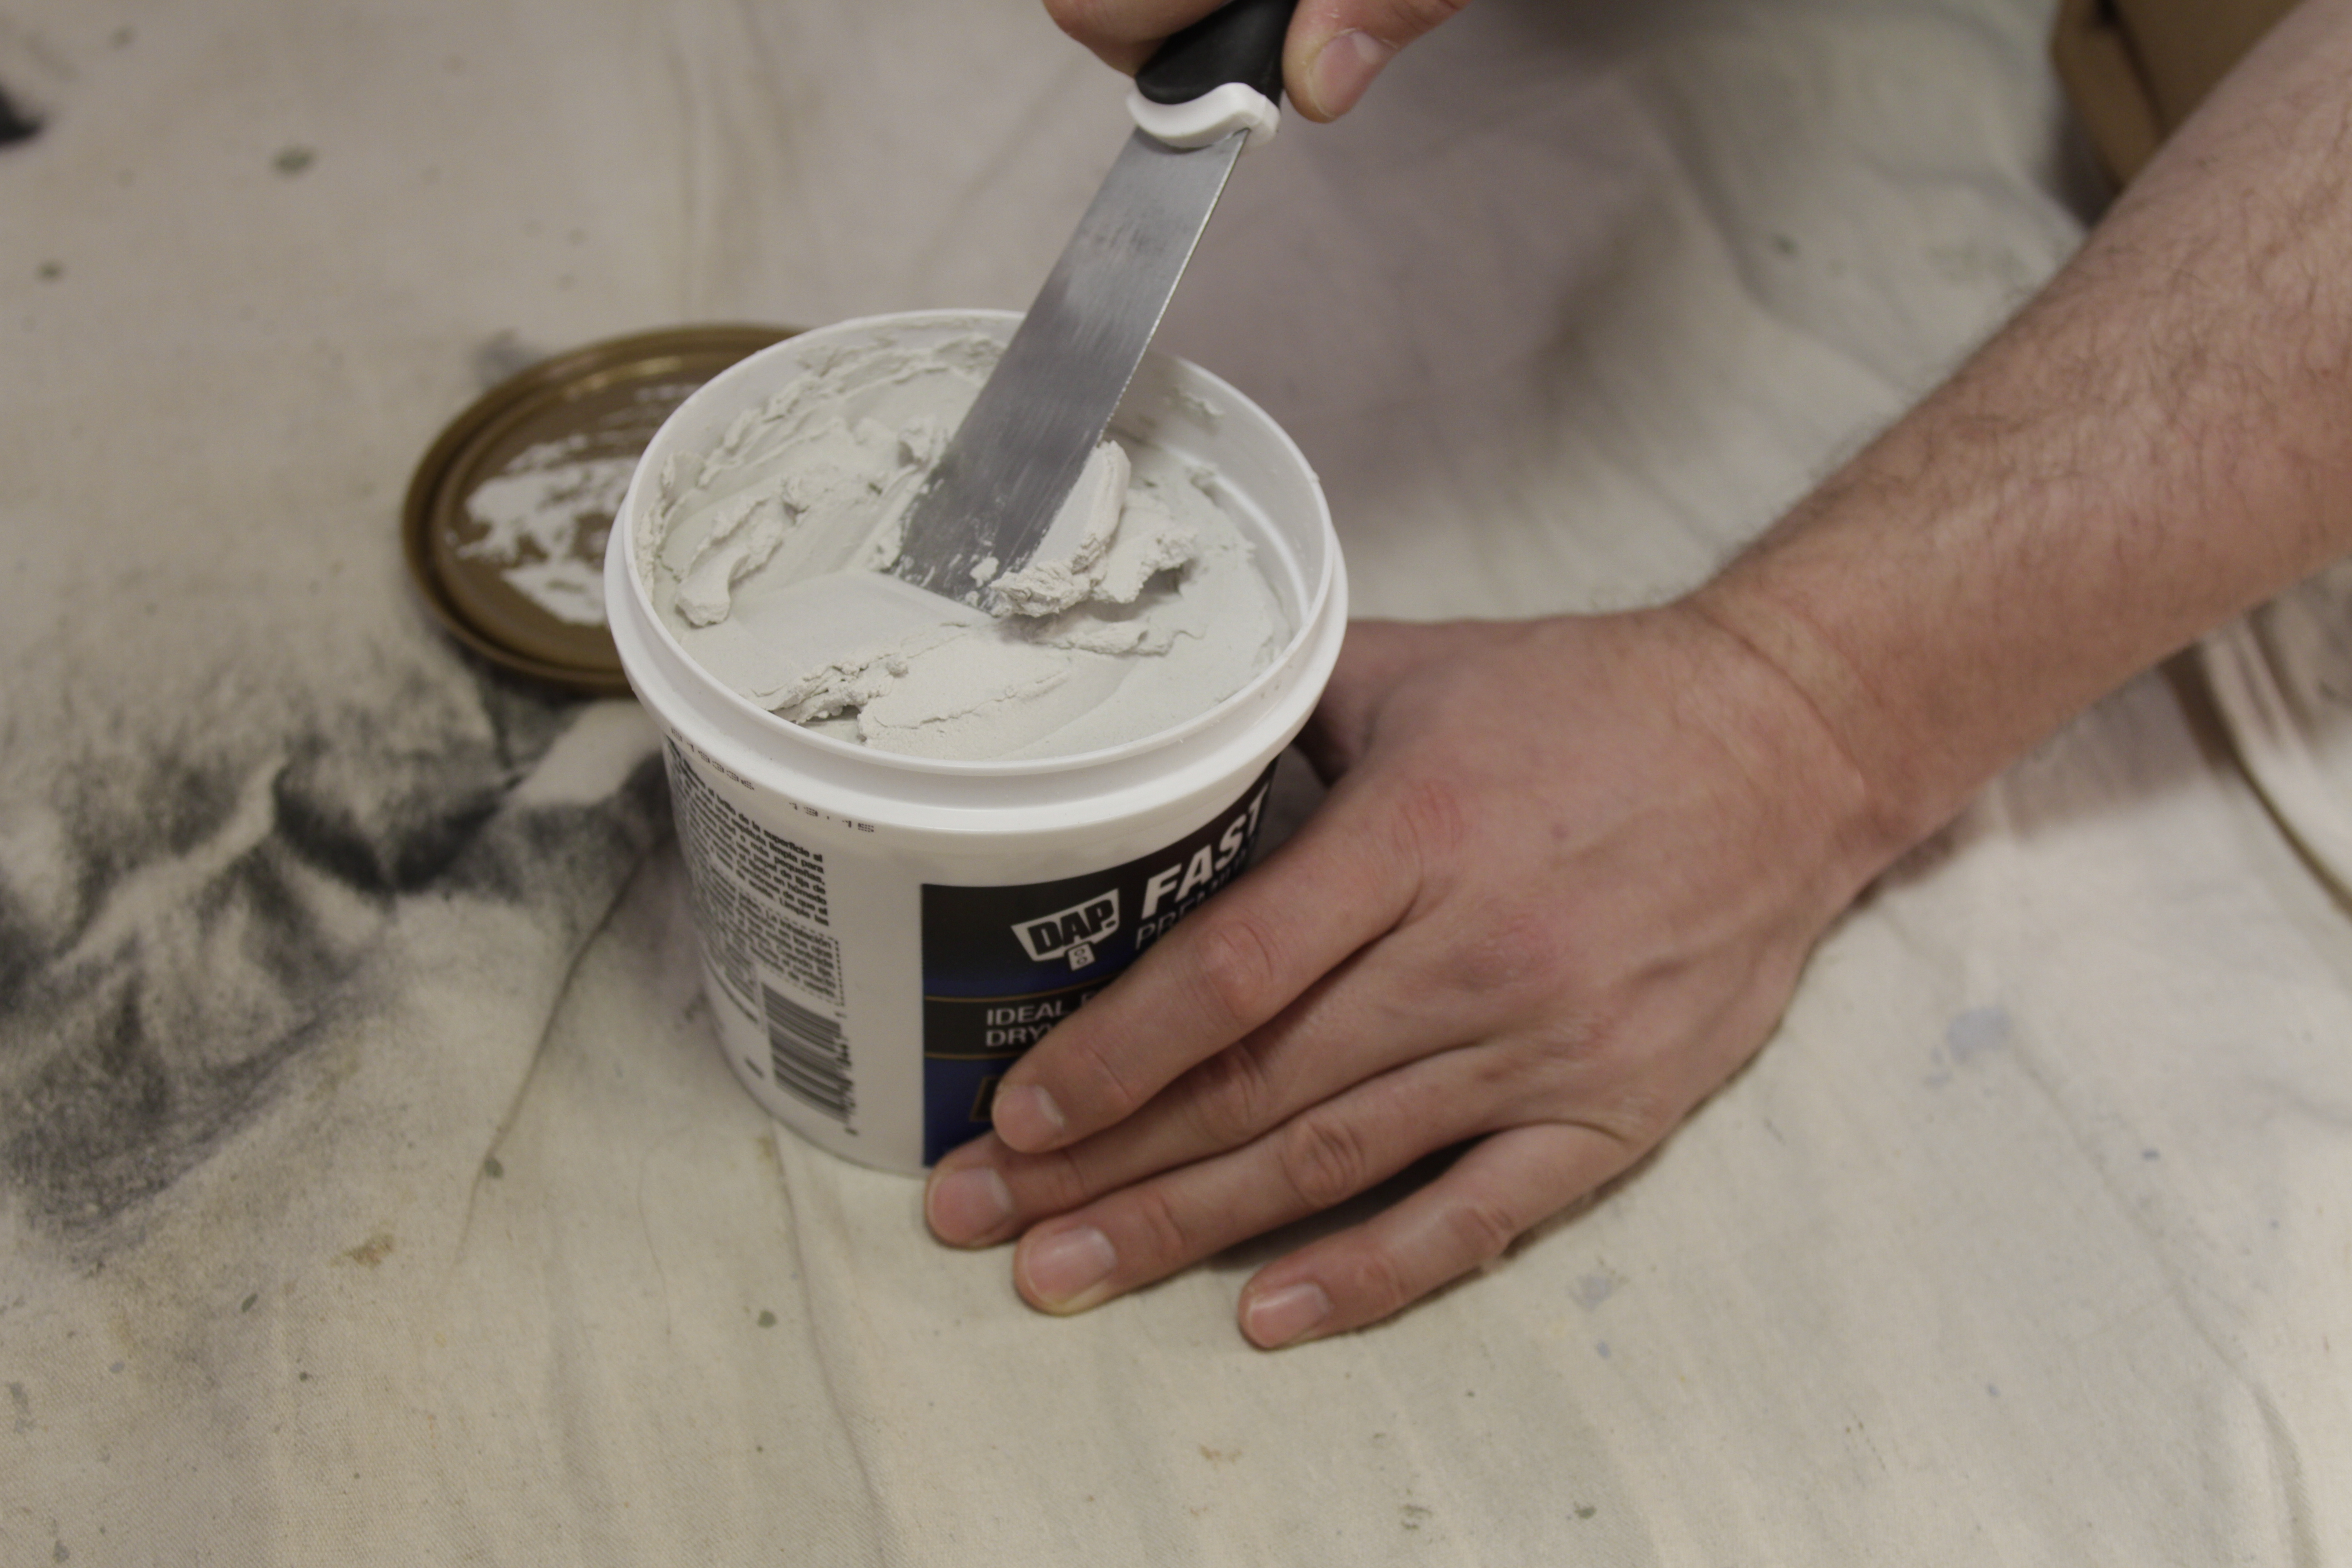
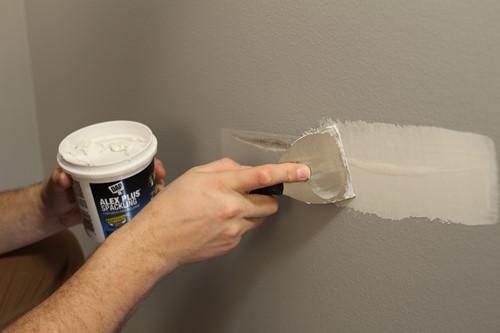
Know how to smooth walls before painting, especially holes left from nails and picture hangers, as well as any dings and dents. You can take care of them easily with DAP FAST DRY Premium Spackling and DAP ALEX PLUS Spackling. Their ready-to-use, smooth white formula spreads nicely for fast, professional repairs that will not sink, shrink or crack.
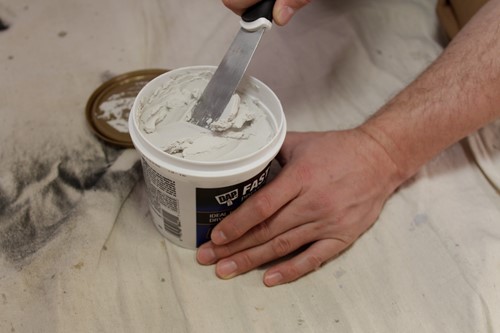
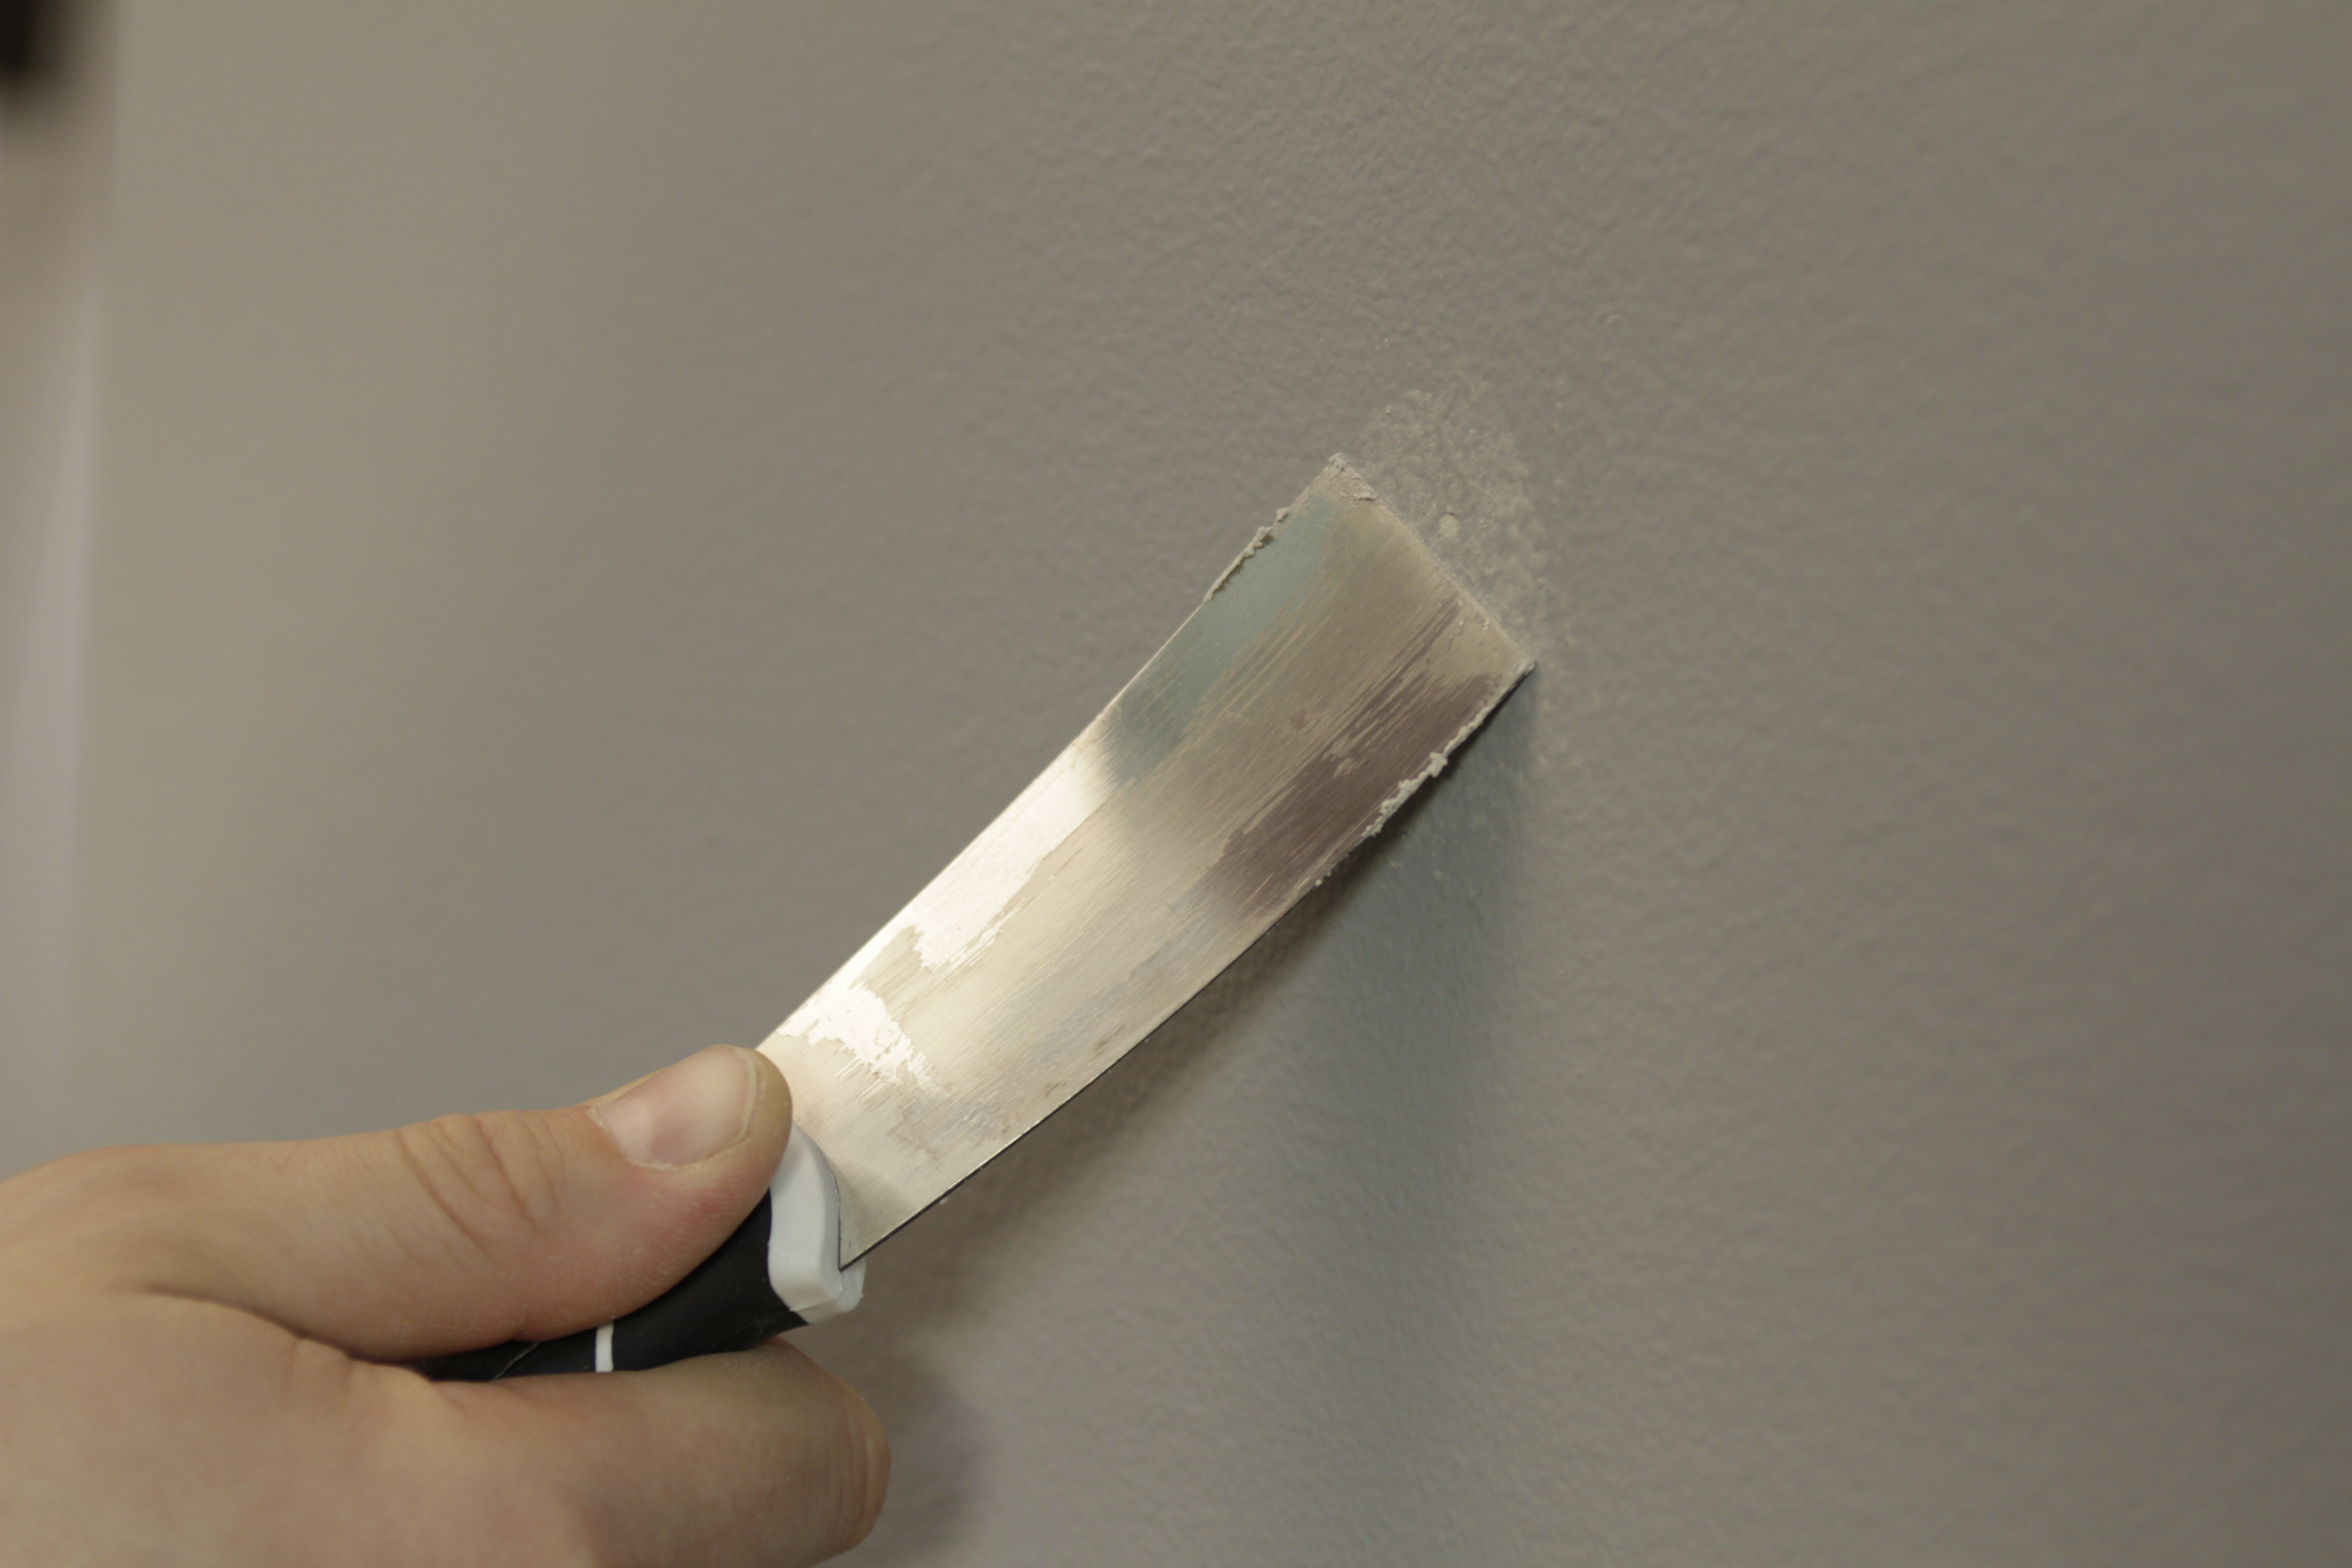
To patch a small hole, scoop a small amount of spackling with a putty knife; then spread over the hole, holding the knife at a low angle to the wall. DAP FAST DRY Premium Spackling
dries in one to five hours, depending on the temperature, humidity and patch depth. Once it’s dry, you can dry-sand it with sandpaper to a smooth surface or wet-sand by lightly running a damp drywall sponge over the patch. When “wet sanding” be sure to allow the patched area to dry before proceeding with priming/painting.
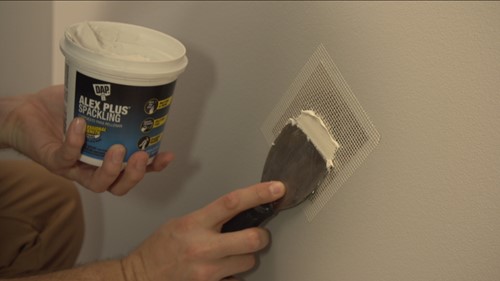
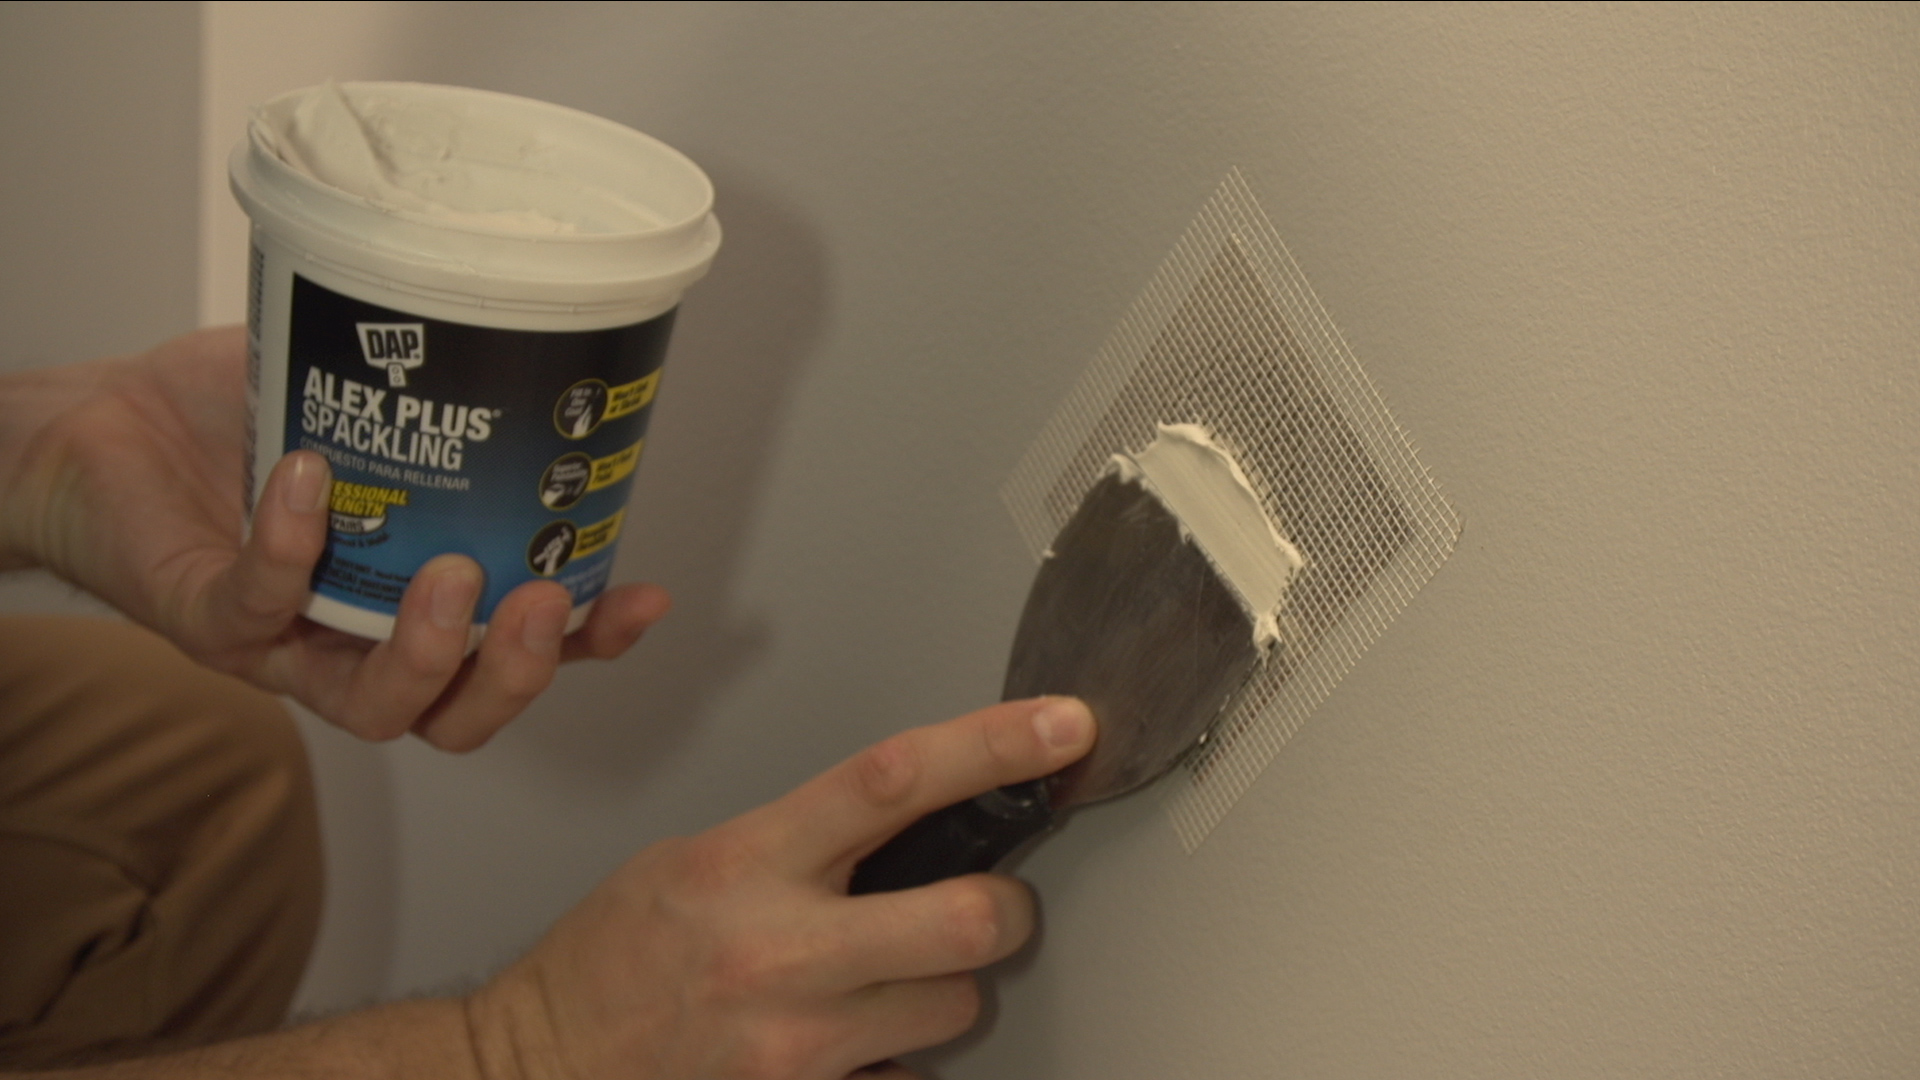
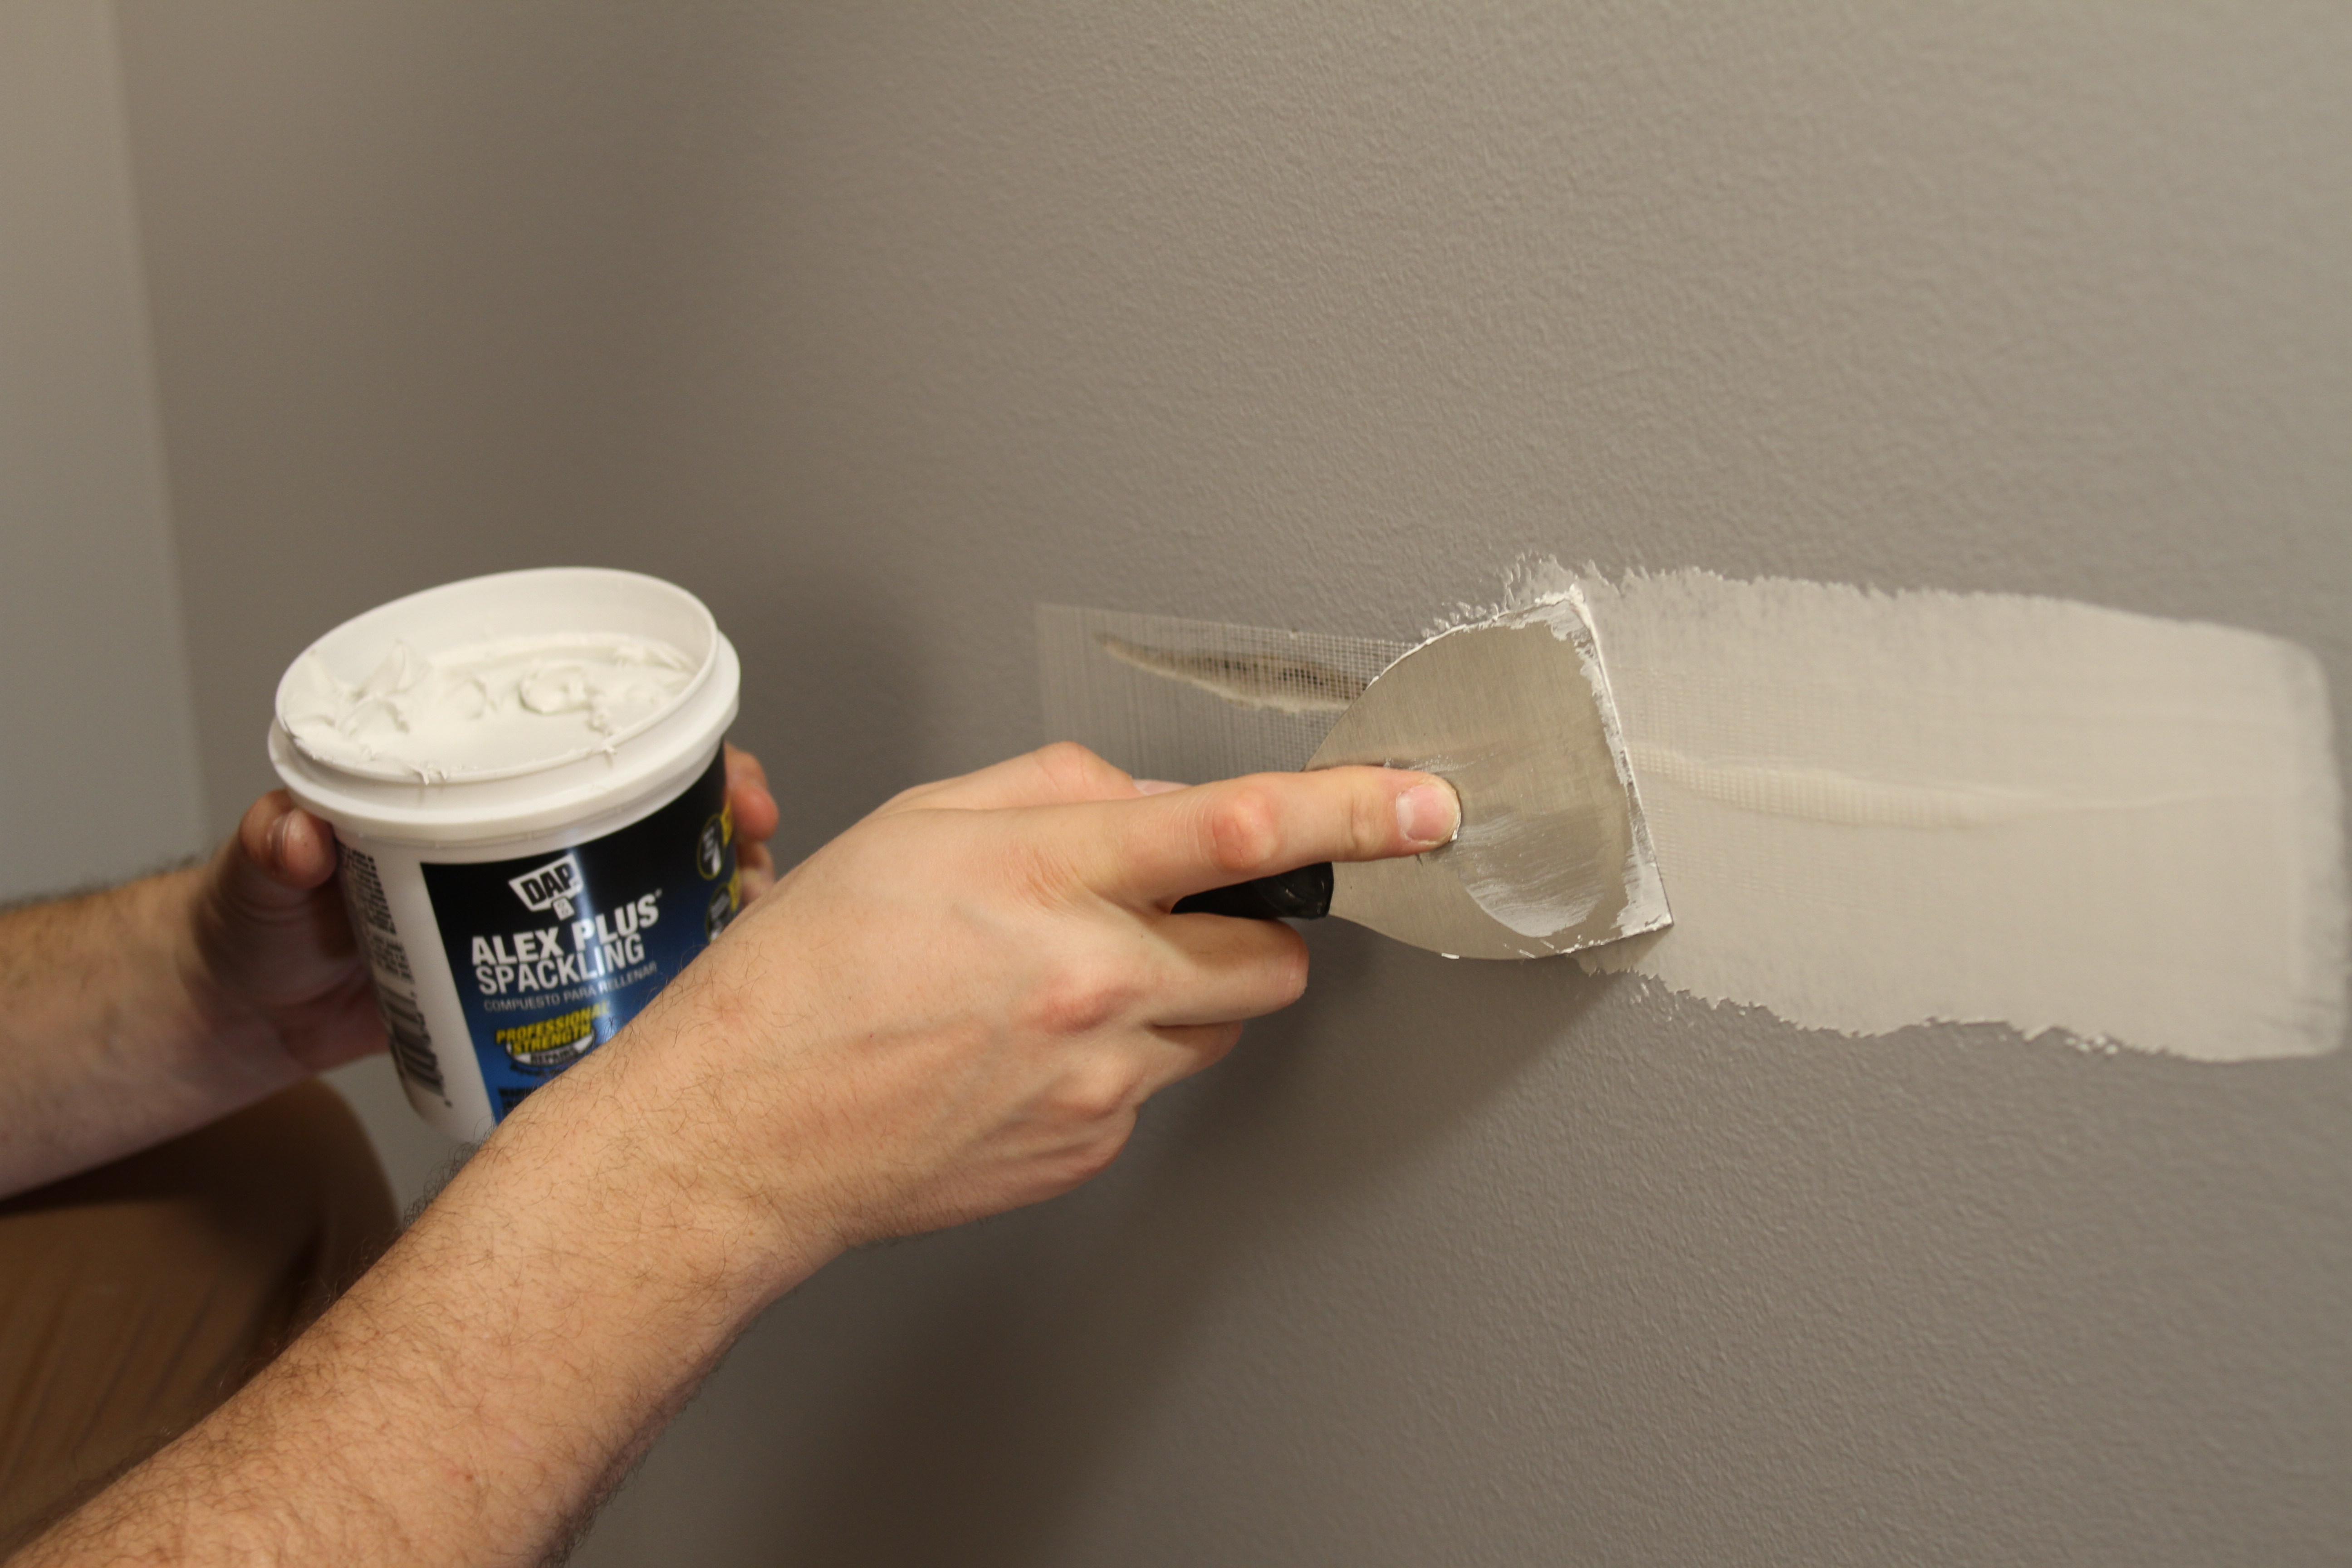
For a deep hole (up to 3 inches and without any backing), place a self-adhesive metal drywall patch over the hole first to prevent the filler from falling into the wall. Then spackle over the patch with DAP ALEX PLUS, feathering the edges. Wet-sand when dry.
Step 5: Patch Cracks
Patch small, stable cracks with DAP FAST DRY Premium Spackling. For larger cracks, place fiber mesh tape over the crack first, and then spackle with DAP ALEX PLUS. When it’s dry, wet-sand with a drywall sponge.
To see these repairs in greater detail, check out our How to Fix Drywall video. [LINK TO HOW TO PATCH DRYWALL]
STEP 6: Repair Torn Drywall
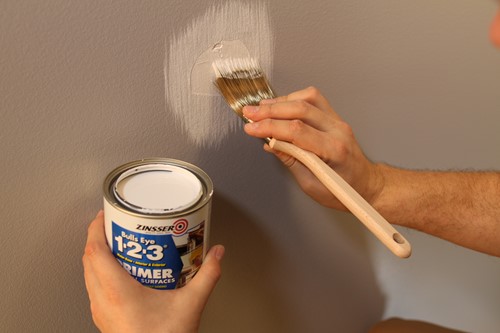
To repair torn drywall paper face, start by cutting away any loose drywall paper. Then seal it with Zinsser Bulls Eye 1-2-3 Primer. This will prevent the exposed drywall from absorbing moisture from the spackling or paint. After it thoroughly dries, lightly sand the exposed paper edges with fine-grit sandpaper to remove any paper fibers. Then apply DAP FAST DRY Premium Spackling to patch it. When it’s dry, wet-sand it with a drywall sponge.
STEP 7: Sand Entire Wall
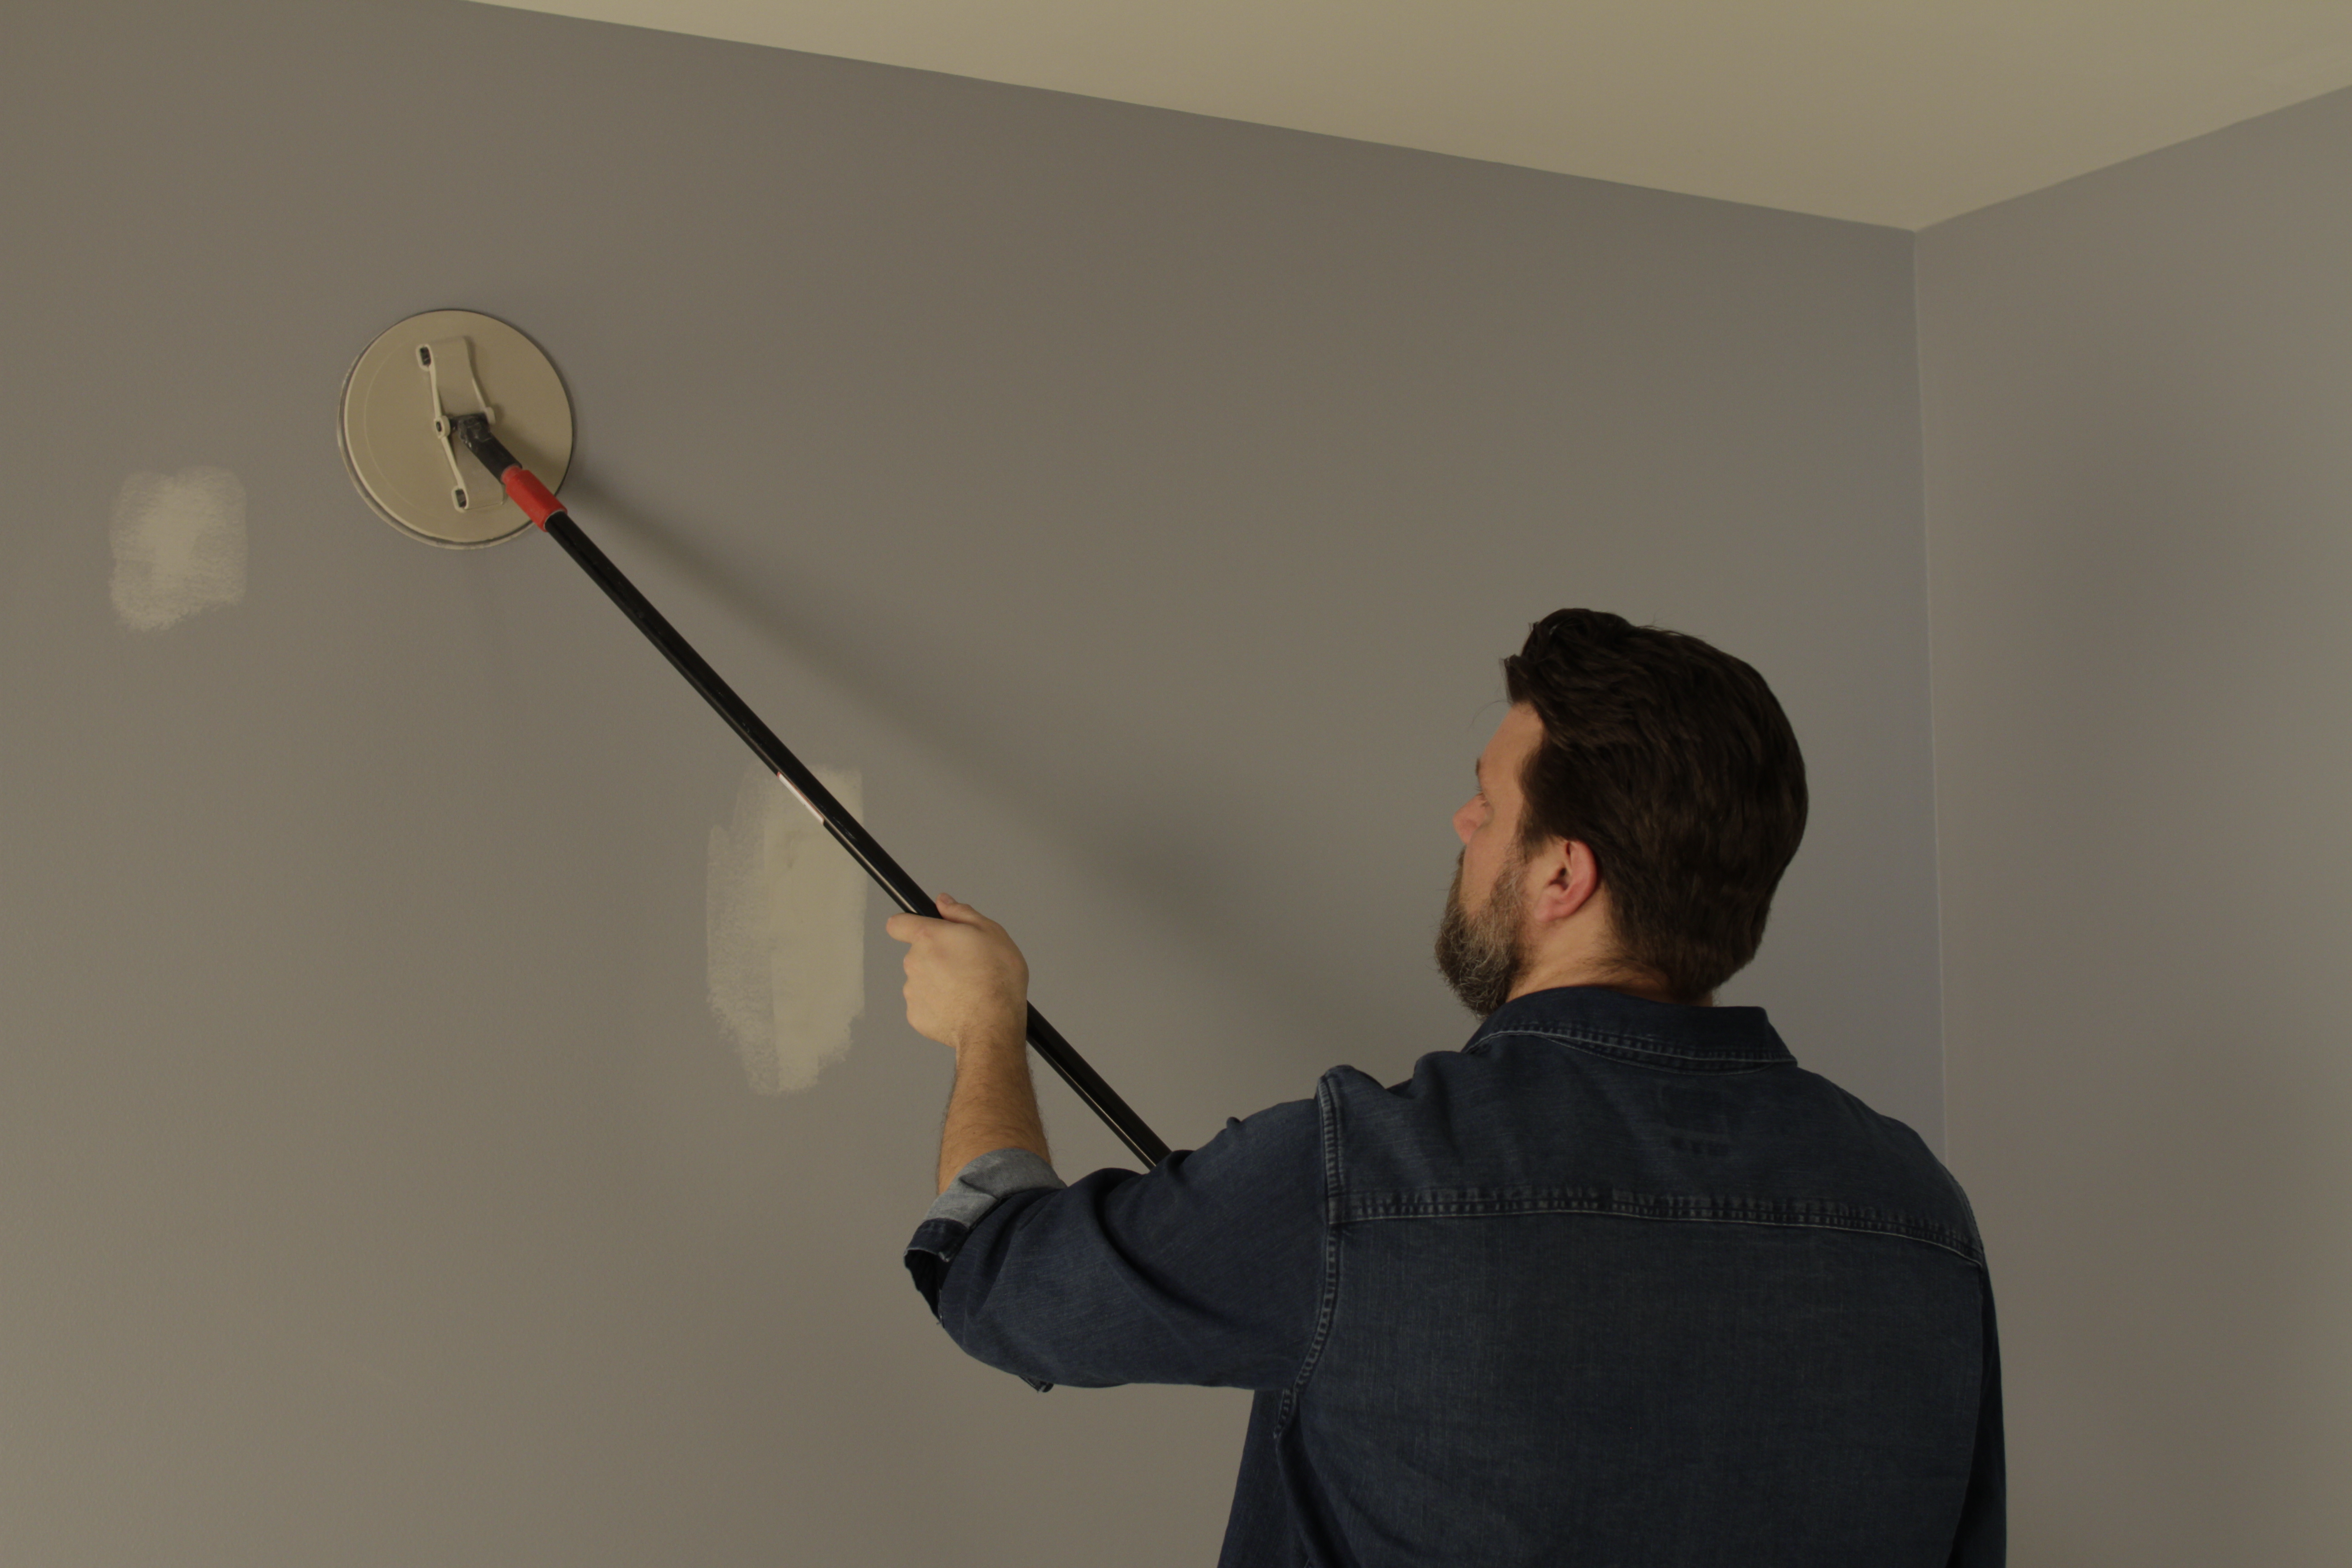
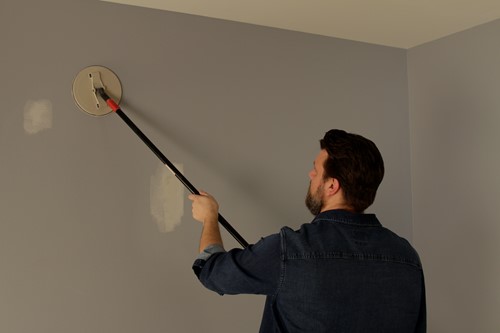
You can get by with sanding only the areas that have been patched, but walls look much better after painting when you very lightly sand the entire wall. The point is to get rid of any little imperfections, not to remove roller texture, so this is a quick sanding. Use a sanding sponge with 100-grit sandpaper. Or, to speed up the work, use a pole sander. Wipe down the walls with a damp cloth when you’re done and allow to dry before proceeding with your next step.
Step 8: Prime Where Needed
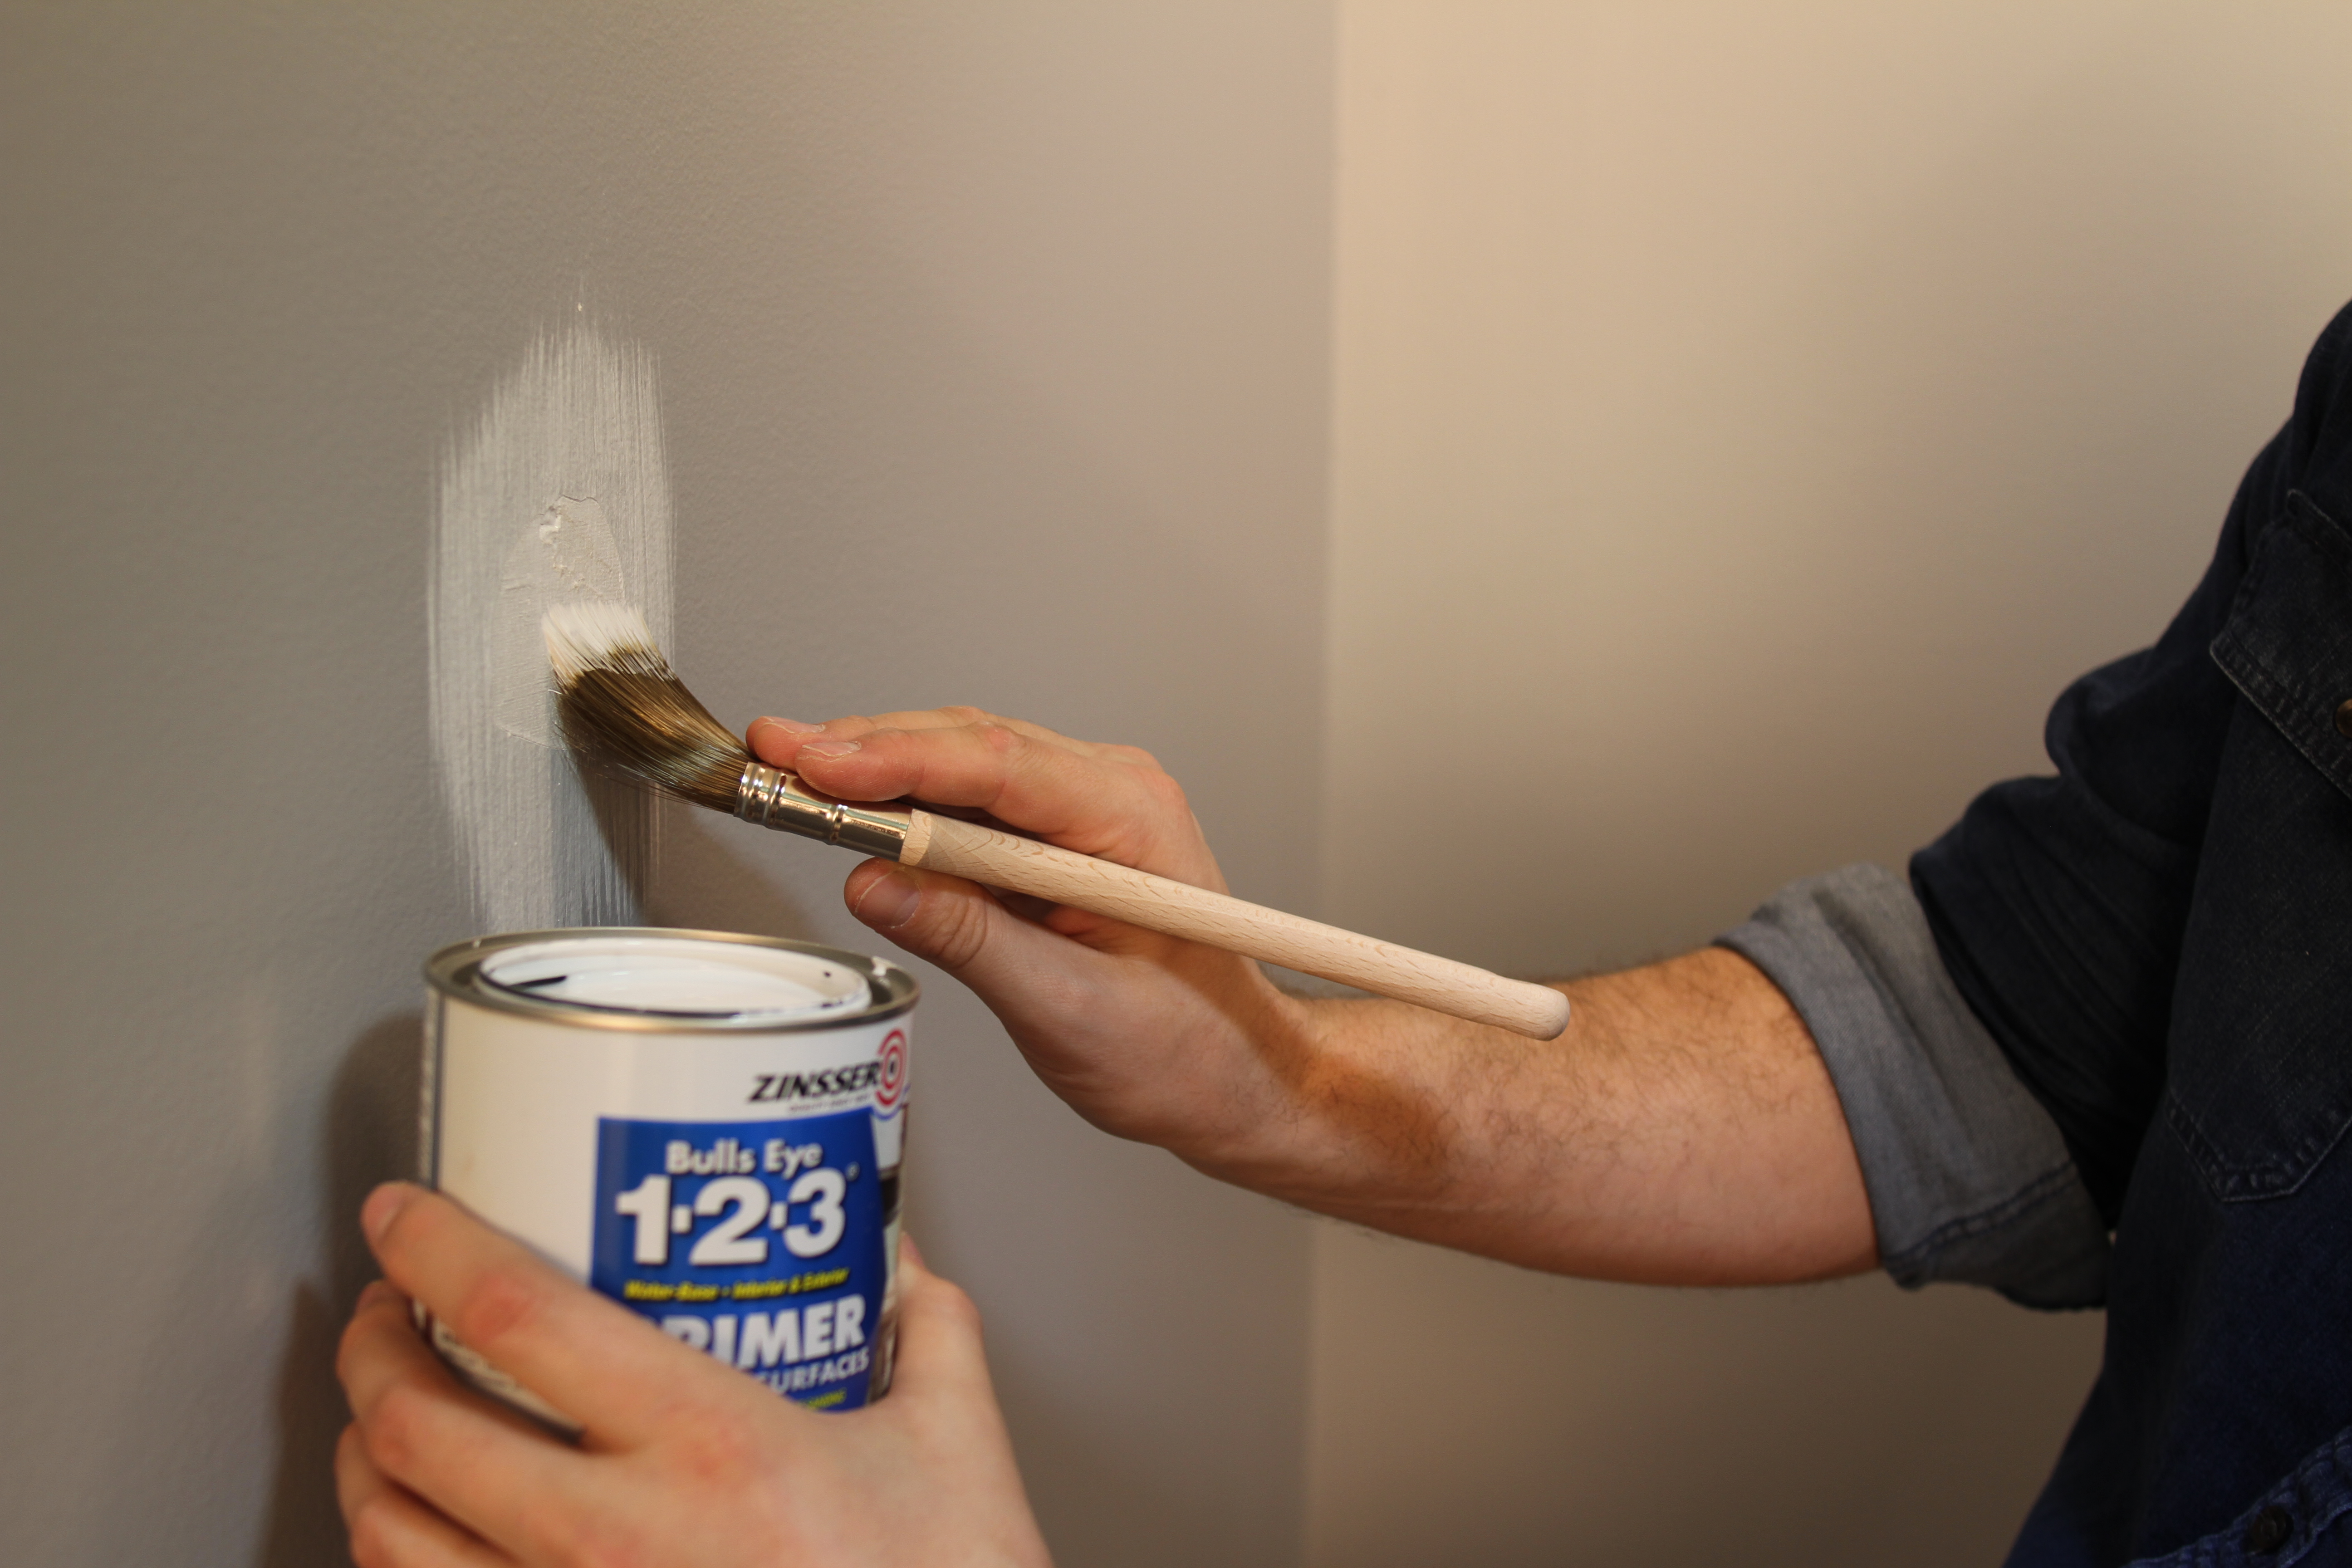
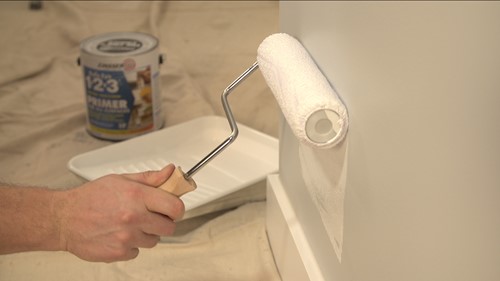
Patches are porous, so the primer readies them for paint. Brush on Zinsser Bulls Eye 1-2-3 Primer to seal any patches and cover water stains, crayon marks or other marks on the wall that might show through the paint. This premium low-odor, water-based primer-sealer covers stains and marks, seals, and provides a smooth surface for paint. Mildew- and mold-resistant, it dries quickly so you can start painting in one hour.
-
Recommended Products
Product Recommendations
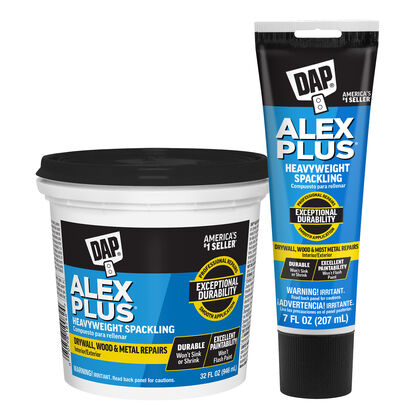
ALEX PLUS Spackling
ALEX PLUS Spackling provides unsurpassed performance for filling holes & cracks in surfaces such as drywall, plaster, wood, brick, metal, and stone.
View Product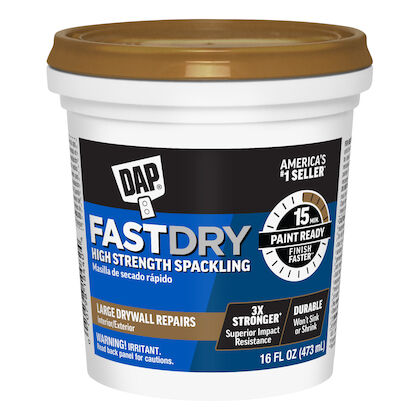
DAP Fast Dry Premium Spackling
Fast Dry Premium Spackling offer pro-grade strength with quick drying. Paintable in 15 mins. Won't sink, shrink, or crack.
View Product - Related Projects


