5 Steps to Winterize Your Home
Ready for that cold snap? Here’s how to make your home more comfortable and energy efficient—and maybe even save you some money.

-
5 Steps to Winterize Your House Step-By-Step
5 Steps to Winterize Your House Step-By-Step
Tools
- Caulk gun
- Gloves
- Finishing tool
- Serrated knife
- Utility knife
- Foam backer rod material
- Safety goggles
Materials
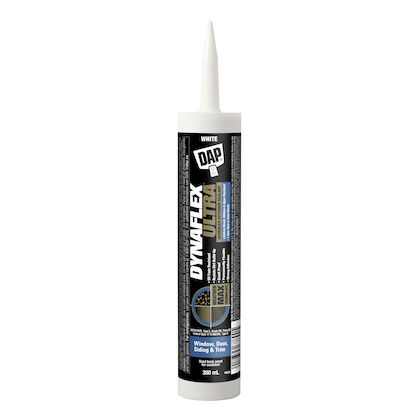
- DAP® DYNAFLEX ® ULTRA Advanced Sealant
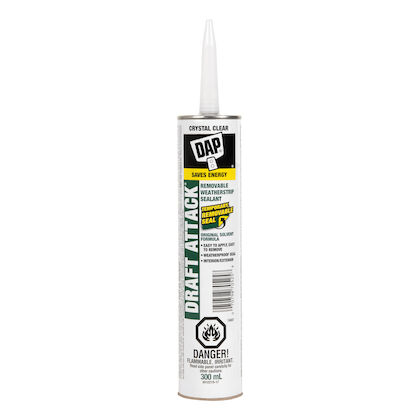
- Draft Attack Removable Weatherstrip Sealant
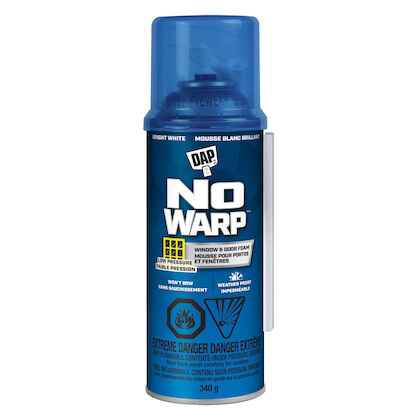
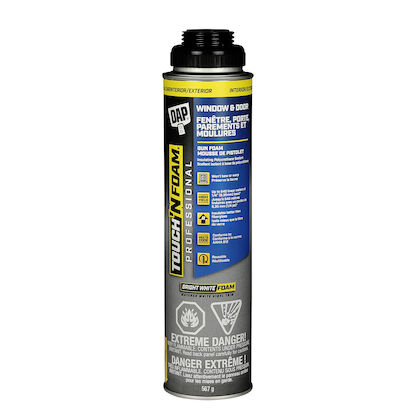
- DAP® Barrier ™ Multi-Project Spray Foam
Winterizing your home isn’t just about cutting costs, though the lower heating bills are definitely an incentive. It also saves energy, and these days energy conservation is important. And it makes your living space a lot more pleasant in general once you tackle any pesky drafts. Start by making sure the attic is adequately insulated. Then take these five steps to seal any places indoors and outdoors where cold air can leak in and warm air can leak out. It will feel good to check “winterize house” off your list.
NOTE: Protect your hands, eyes and skin when working with sealants.
Step 1: Seal Outlet and Switch Boxes
Remove the plates covering outlet and switch boxes on exterior walls, then look at the area around the boxes. Is there a gap between them and the drywall? If it’s larger than 1/8 inch, you can seal the area in two steps. First, turn off the power to the outlet. Then seal the area of the junction box where the wires come in with DAP Barrier Multi-Project Foam, a spray foam sealant. If the gap is too small for a straw to fit into, make a small hole where you can insert a straw and inject foam all the way to the wires.
To use the sealant, assemble the straw and adapter and attach the trigger assembly to the can. Shake it well. Holding the can upside down, insert the straw into the hole and fill the gap. The sealant expands to fill the space. Any excess sealant can be cut away with a serrated knife after it cures (in about four hours).
Next, seal the gap around the outlet with caulk. Then install foam insulating gaskets to the back of the switch plate.
Step 2: Seal Around Pipes and Wires
Winterize pipes around your home, such as where water supply lines come in and sump drain lines exit. Outdoors, seal the areas where cable wires and air conditioning lines enter the house. Use DAP Barrier Multi-Project Foam, a foam sealant. Assemble the sealant’s straw and adapter and attach the trigger assembly to the can. Shake it well, then hold it upside down and fill gaps 1/3 full. The water-resistant sealant expands to fill the rest of the space. Any excess sealant can be cut away with a serrated knife after the foam cures (in about four hours).
BONUS TIP: Disconnect Hoses and Shut Off Water to Outdoor Faucets
Before freezing temperatures set in, winterize your garden hoses. Disconnect them from the faucets, then drain and store them. If your outdoor faucets aren’t frost-proof, turn off water to them at the shutoff valve inside the house. Then open the faucets and let any water remaining in the lines drain out.
Step 3: Seal Vents
Cold air can enter around dryer and exhaust vents if there are gaps around them. Seal those vents indoors and outdoors with DAP Barrier Multi-Project Foam. It cures fast, so you can apply it and, if you want, paint it the same day.
Step 4: Seal Around Window and Door Perimeters
Seal gaps around entry doors and windows both indoors and outdoors to eliminate air leaks. First, clean out any debris or dirt in the gaps (including old caulk). Then fill the gap with a bead of DAP DYNAFLEX ULTRA Advanced Sealant. The sealant can fill joints up to 1-inch wide x ½-inch deep (gaps deeper than ½ inch should be filled first with foam backer rod material before the sealant is applied). It will be ready to be painted in just one hour.
Step 5: Temporarily Seal Interior Windows or Seasonally Used Doors
You can temporarily seal drafty interior windows or seasonally used doors—for example, where a window meets the sill or where two sashes meet—as long as the windows aren’t fire exits. DAP SEAL ‘N PEEL Original Removable Weatherstripping Sealant provides a temporary and removable watertight, weatherproof seal that won’t damage finishes and can stay in place up to one year. To use it, wipe away any dirt or debris from the surface and make sure you provide adequate ventilation. Load the cartridge into a caulk gun after you have cut the nozzle at a 45-degree angle to desired bead size and punctured the inner foil seal. Run a bead of sealant along the area you want to seal. No need to use a finishing tool or smooth the bead. When you’re ready to remove the sealant weeks or months later, pull up one end of the bead and easily peel it away from the surface.
-
Recommended Products
Product Recommendations
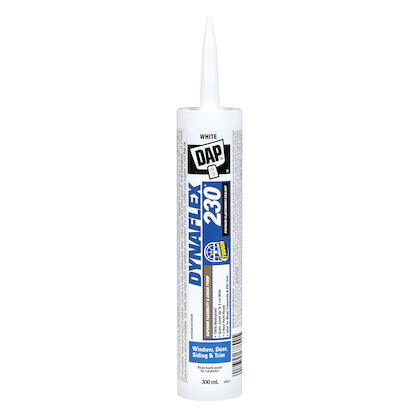
DYNAFLEX 230® Premium Elastomeric Sealant
Silicone Tough latex sealant that offers outstanding exterior performance against the elements.
View Product

 Canada - EN
 USA - EN