Paint Prep Perfection: The Key to a Flawless Finish
Painting can make your space feel new again. But if you skip the prep work, you could end up with uneven paint, chips, or a finish that doesn't last. This guide will show you how to prepare your surfaces step by step so your paint job looks smooth and professional.
Why Painting Prep Is Important
When it comes to painting, preparation isn't just an extra step—it's the foundation of a flawless finish. Skipping or rushing the prep process can lead to uneven coverage, peeling, or even costly re-dos. Here's why taking the time to prep is essential:
Ensures a Smooth Surface
Proper prep removes imperfections like dirt, dust, grease, and old, flaking paint. By cleaning, sanding, and patching surfaces, you create an even canvas that helps the paint adhere better and look smoother. Without this step, bumps and cracks will remain visible, no matter how many coats you apply.
Improves Paint Adhesion
Paint needs a clean, dry, and properly primed surface to adhere effectively. Skipping prep can lead to poor adhesion, causing the paint to blister, peel, or chip over time. Taking the time to prep ensures that your hard work lasts longer and withstands everyday wear and tear.
Saves Time and Money
It may seem like prep adds time to your project, but it prevents costly mistakes. Repainting due to peeling or uneven coverage means buying more supplies and spending extra hours fixing what could have been avoided with proper prep. A little extra effort upfront saves you time and money in the long run.
Enhances the Final Appearance
Ever notice how professional paint jobs look flawless? That's because pros spend significant time on prep. Clean, smooth, and properly primed surfaces allow the paint to go on evenly, creating a polished, professional-looking finish that enhances the overall appearance of the space.
Increases Durability
Proper prep doesn't just make your paint job look better—it also makes it last longer. A well-prepped surface can withstand changes in temperature, humidity, and general wear and tear, ensuring your paint job looks fresh and vibrant for years to come.
What Does Prep Include?
Prep is more than just a quick wipe-down—it’s a multi-step process that sets the stage for a flawless paint job. From cleaning off dirt and grease to repairing cracks, sanding rough spots, and applying a good primer, each step helps ensure your paint goes on smoothly, adheres properly, and stands the test of time.
What You’ll Need to Get Started
Here’s a list of basic tools and materials:
- Cleaning Supplies: Sponge, Mild Detergent & Warm Water
- Spackle: DRYDex Dry Time Indicator Spackling or FAST ‘N FINAL Lightweight Spackling
- Putty Knife
- Sandpaper
- Caulk: ALEX ULTRA Advanced Latex Sealant
- Caulking Gun
- Drop Cloths
- Painter’s Tape
- Primer
Step-by-Step Guide to Paint Prep
STEP 1: Clean the Walls
Before doing anything, make sure your surfaces are free of dust, grease, and dirt.
- For interior walls: Mix a very small amount of mild detergent with warm water, then use a damp cloth or sponge to clean the walls and trim.
- For exterior surfaces: A pressure washer may be needed to remove stubborn dirt, mildew, or old paint.
- Let everything dry completely before moving on.
STEP 2: Fix Any Damage or Imperfections
No surface is perfectly smooth, especially if it's been previously painted. Cracks, nail holes, dents, and other imperfections can ruin the final look if left untreated.
- Scrape away loose or peeling paint to prevent future flaking.
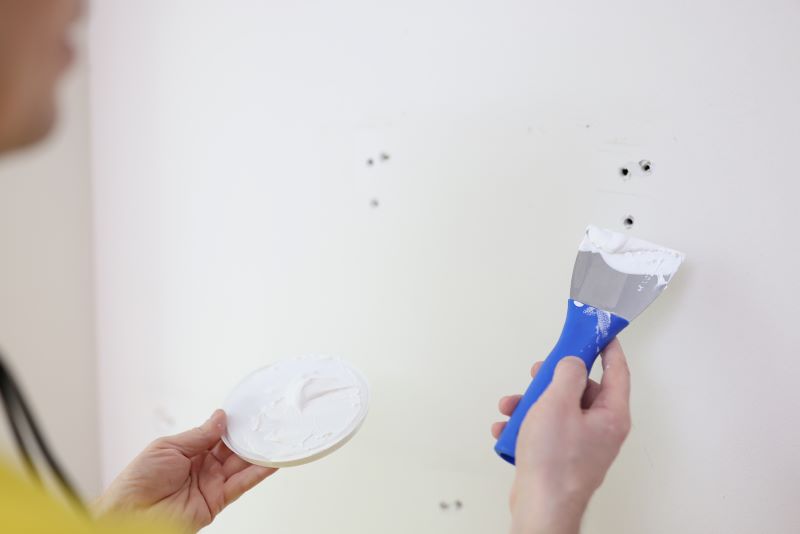
- Small cracks, dents, or nail holes can ruin the final look if left untreated. For quick and easy fixes, FAST 'N FINAL Lightweight Spackling is a game-changer. Its lightweight formula applies smoothly with little to no sanding required, making repairs quick and easy. Plus, the built-in knife cap allows for precise application, filling and smoothing minor imperfections in one simple step
- For bigger holes or more substantial repairs, DryDex Spackling is your go-to solution. This product is ideal for larger areas and works on drywall, wood, and more. Its unique formula dries to a pink colour that turns white when fully dry, so you know exactly when it's ready for sanding and painting.
How to Use FAST 'N FINAL Lightweight Spackling
- Squeeze a small amount of spackling into the hole.
- Smooth it with the built-in knife cap for a seamless finish.
- Let it dry for about 30 minutes before painting. If you prefer to sand, or if you’re using an oil-based paint, allow it to dry completely (approximately 24 hours).

How to Use DryDex Spackling
- Start by removing any loose debris from the damaged area to ensure a clean surface for the spackling to adhere to.
- Using a putty knife, apply the spackling to the damaged area, smoothing the edges. Feather the spackling out around the edges of the patch to blend it seamlessly with the surrounding surface.
- Let the spackling dry completely—it will turn white when it’s ready for the next step. Typically, this takes between 1 to 5 hours, depending on the size of the repair.
- Once dry, sand the patched area until smooth to achieve a flawless, even surface.
- If the surface requires a second application, simply wait until it turns white again before applying more.
- You may need additional reinforcement for bigger repairs, such as a drywall repair patch, mesh, or drywall tape. For convenience, we offer an all-in-one repair kit that includes a 5x5-inch fiber-tough patch for easy reinforcement.

Watch how Refresh Home Improvements apply DRYDex Spackling in this video
STEP 3: Seal Gaps with Caulk
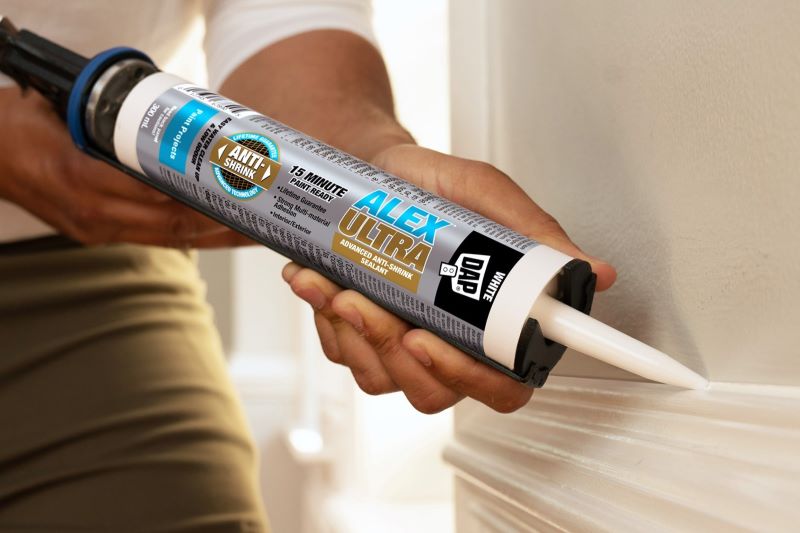
Filling gaps around trim, baseboards, and crown moulding with DAP ALEX ULTRA Advanced Sealant ensures a smooth, professional finish and prevents air and moisture from seeping in.
How to Apply ALEX ULTRA Sealant
- Apply a steady bead of caulk along the gap using a caulk gun.
- Smooth the caulk with a damp finger or caulk tool.
- Allow to dry for 30 minutes before painting over the sealant for a flawless finish.
STEP 4: Sand the Surfaces
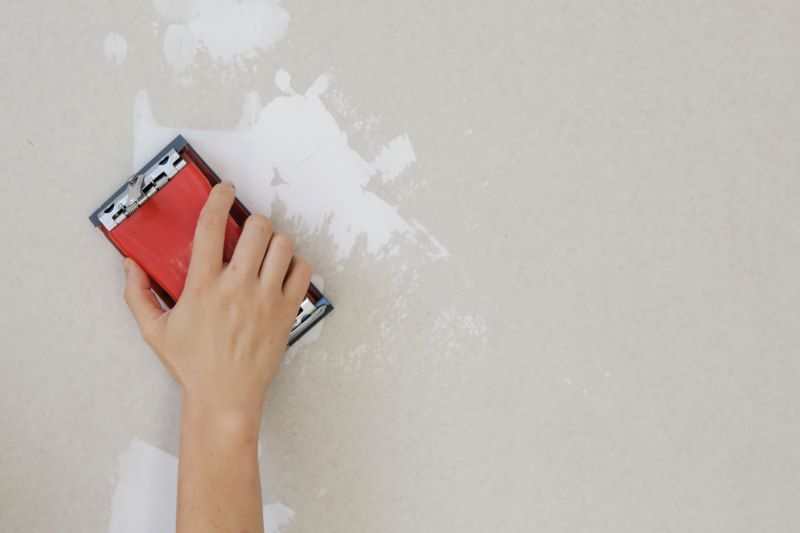
Sanding is a key step for a smooth, even paint finish.
- Use fine-grit sandpaper to go over any repaired spots and glossy areas.
- Wipe away sanding dust with a damp cloth or tack cloth.
STEP 5: Prime the Walls
Primer helps the paint stick better and creates an even base colour.
- Focus on repaired, sanded, or bare areas, since these will absorb more paint. The primer helps create a barrier for a more even finish.
- Let the primer dry before you start painting.
FAQs
Do I Need to Use Primer on Every Wall?
Not always. Use primer on repaired areas, bare surfaces, or when switching between very different colours.
Can I Paint Over Old Paint?
Yes, but only if the old paint is clean, smooth, and damage-free. Otherwise, the new paint might not stick, or flaws might show through.
What Do Painters Do to Prep?
Professional painters always clean, fix damage, sand, and prime surfaces. Skipping these steps leads to peeling, uneven paint, and short-lived results.
Why Choose DAP Products for Prep?
- DRYDex Spackling: Perfect for large wall repairs with a colour-changing dry time indicator.
- FAST ’N FINAL Lightweight Spackling: Ideal for quick fixes like nail holes.
- ALEX ULTRA Advanced Sealant: Paintable, flexible, and durable seal for gaps and trim.
Final Checklist Before Painting
- Are all surfaces clean and dry?
- Have you fixed all cracks, holes, and gaps?
- Did you sand and remove dust?
- Have you primed repaired areas?
Taking the time to prep your surfaces makes all the difference in your results. Clean walls, smooth repairs, and sealed gaps give your paint a professional finish that lasts. Use DAP Canada products to make your prep work faster and easier.
Prep well, paint confidently, and enjoy your beautifully transformed space!

 Canada - EN
 USA - EN